
Have you ever noticed that people like a product in nice or premium packaging way more than the same product in the same old brown cover? A study shows that nice packaging can actually make people think something's worth way more – like up to 45% more! That's crazy, right? Even little things like a personalized gift tag can totally change the perceived value of an item. And instead of grabbing those boring ones from the store, why not just make your own exactly how you want them?
DIY gift tags don't just look way better – they make everything feel so much more intentional. They make each present feel special, you'll save money in the long run (always nice), and they actually show off your personality. Whether it's birthdays, holidays, or you're trying to make your products look amazing, custom tags just hit different.
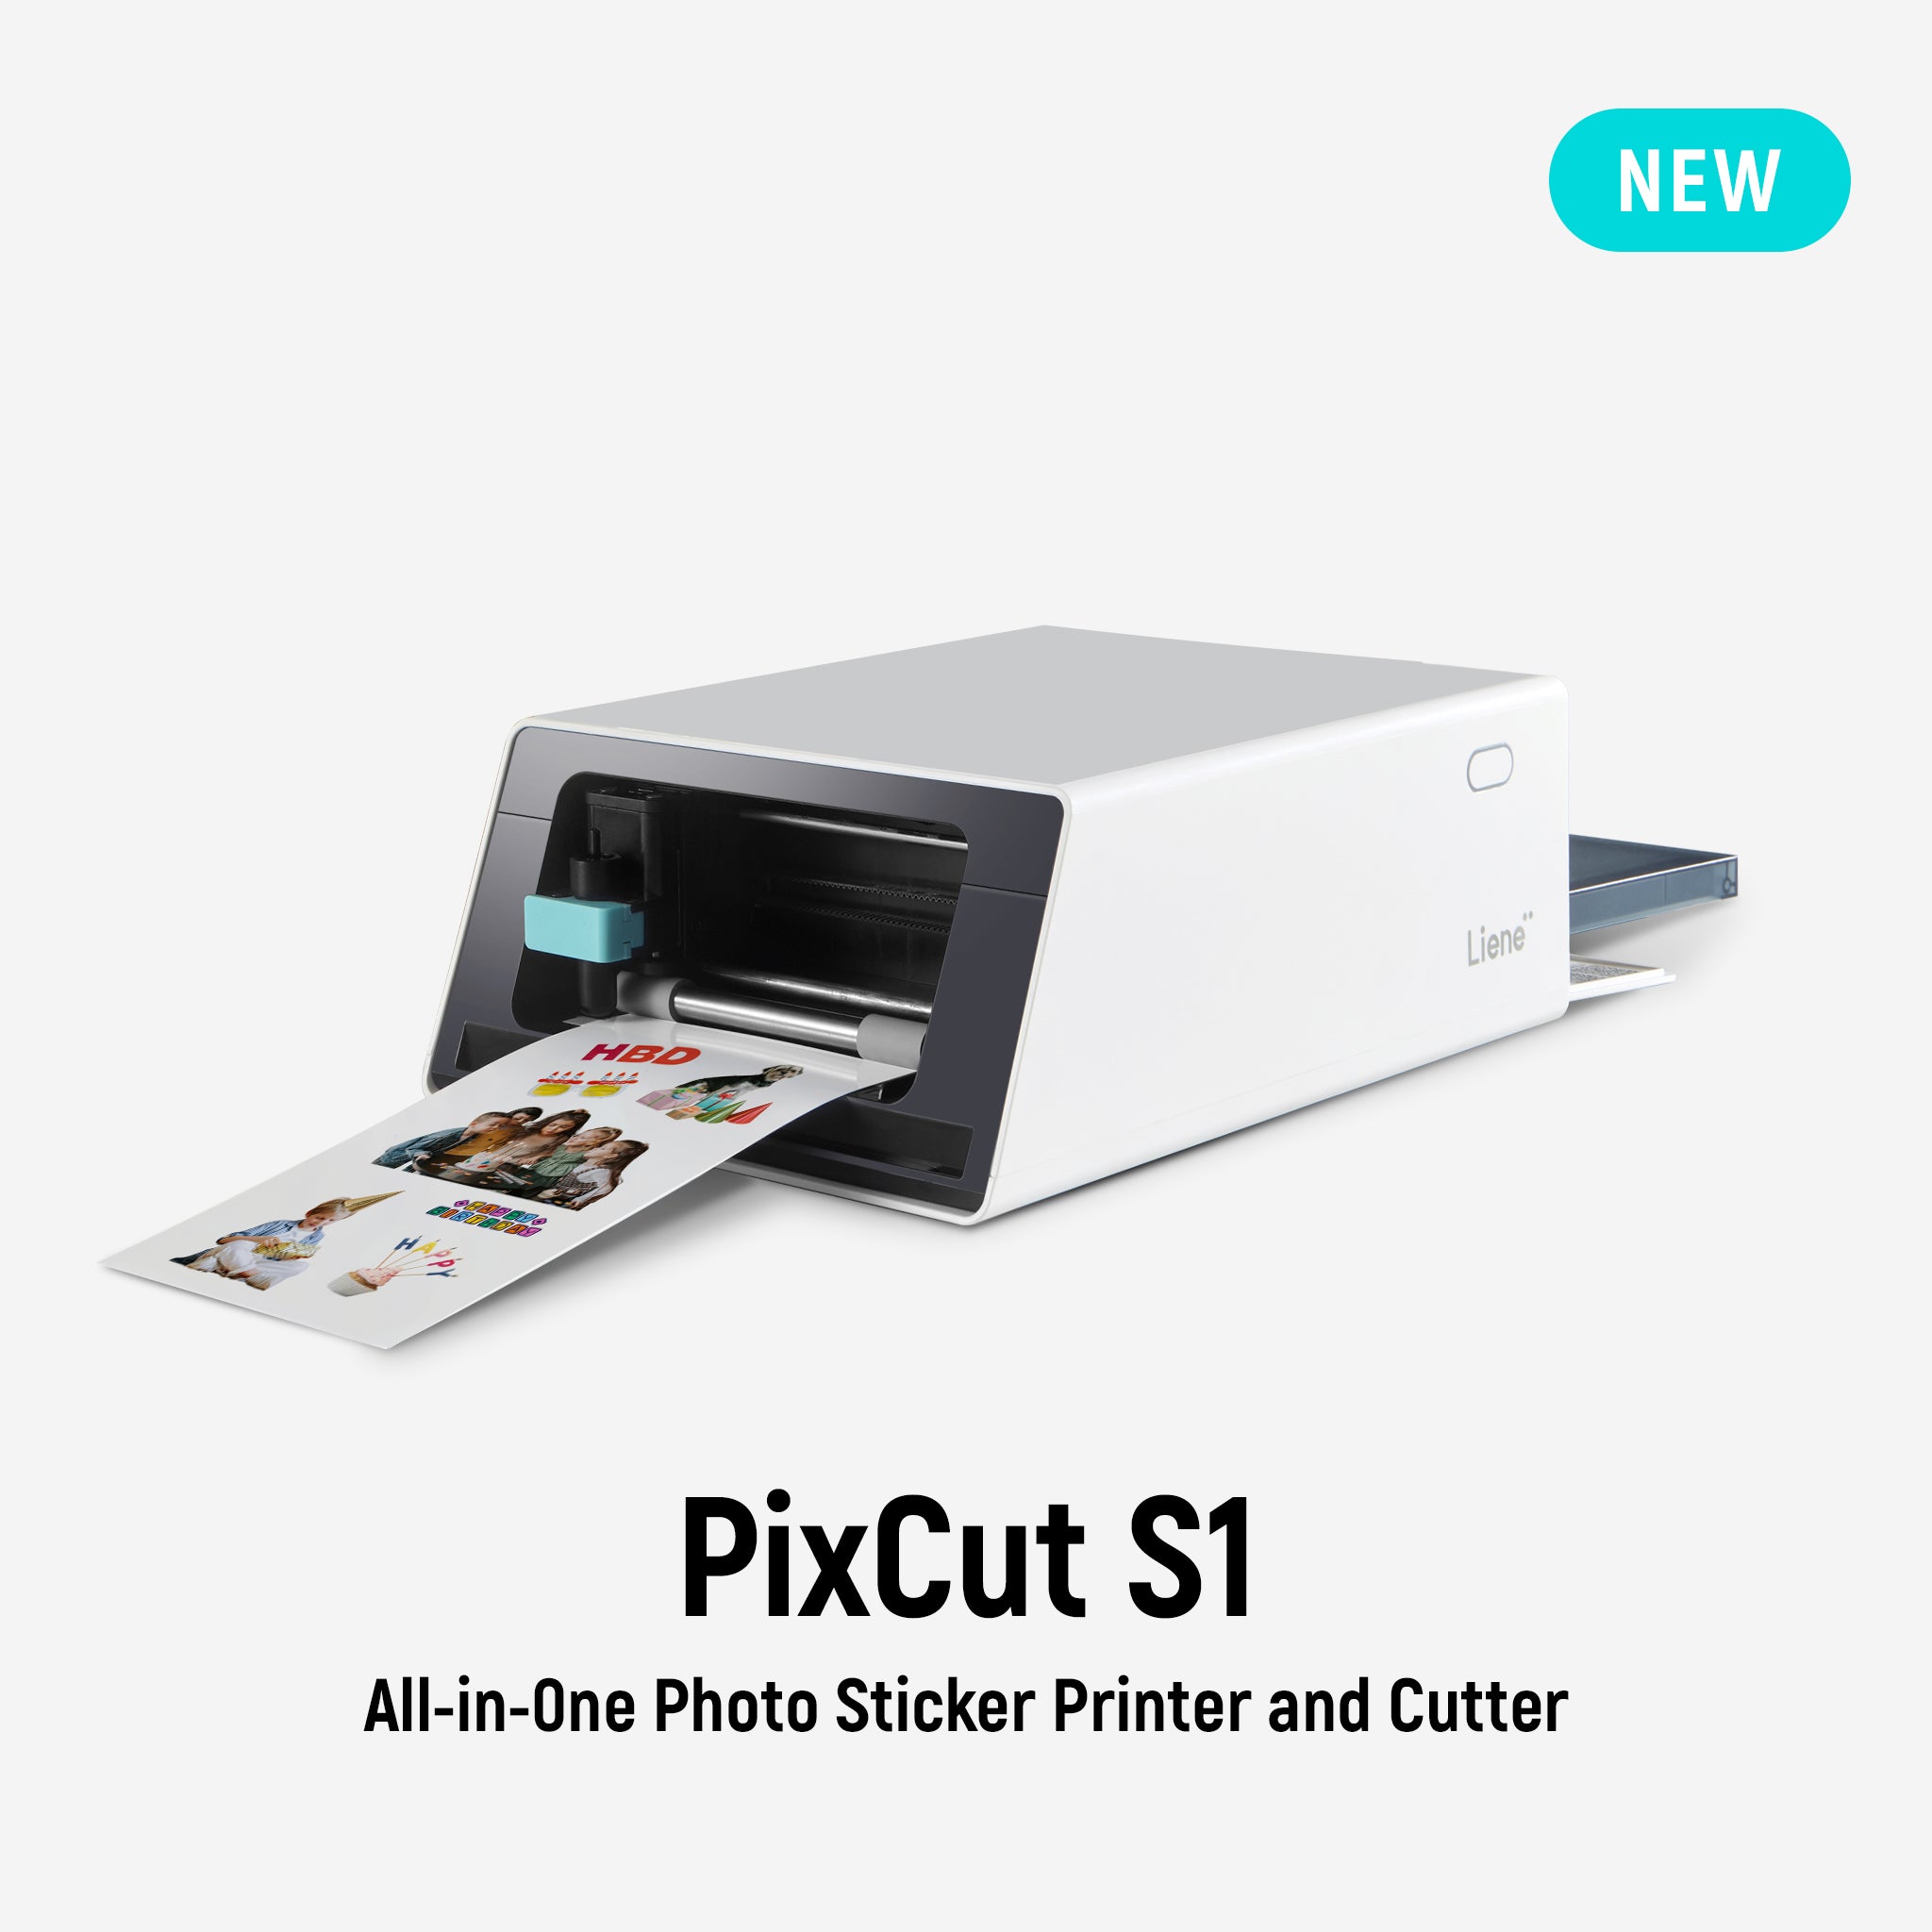
Here's how to design, print, and cut your own gift tags using the Liene PixCut S1. You just need a couple things and some creativity, and you can make tags that look like they came from some fancy boutique but feel way more thoughtful than anything you could buy.
Benefits of Making Your Own Gift Tags
Making your own gift tags isn't just something to keep your hands busy—it's actually a really smart way to make your packaging look intentional and polished. Whether you're wrapping something for someone you love or getting orders ready for your business, custom tags just make everything feel more special.
Here's why I'm convinced making your own is totally worth it:
- They feel more personal: A handwritten note or someone's name on a custom tag just hits different. It's like saying "I actually put thought into this" without having to say it.
- You get to control everything: The design, colors, what it says, the whole vibe, you can match whatever theme you're going for or really show off your creativity.
- They are cheaper: Those fancy gift tags from stores or getting them printed somewhere can be expensive. Making your own with something like the PixCut S1 ends up saving you money, especially if you do this regularly.
If you've got a small business, branded tags are honestly like having a tiny billboard on every package. Slap your logo on there, maybe a QR code, or a little note that makes people want to come back. People notice when you put in that extra effort, and tags are such an easy way to do it.
The really nice part? With the Liene PixCut S1, you don't need to be some design genius or have a bunch of fancy equipment. It's quick, clean, and you get results that look way more expensive than they were to make.
What You’ll Need to Get Started

Okay, so before we actually start making anything, you'll want to grab your stuff first. The cool thing is, you don't need much to make really nice DIY gift tags – just a handful of things. Here's what you need:
- Your Liene PixCut S1: This little guy does both the printing and cutting for you.
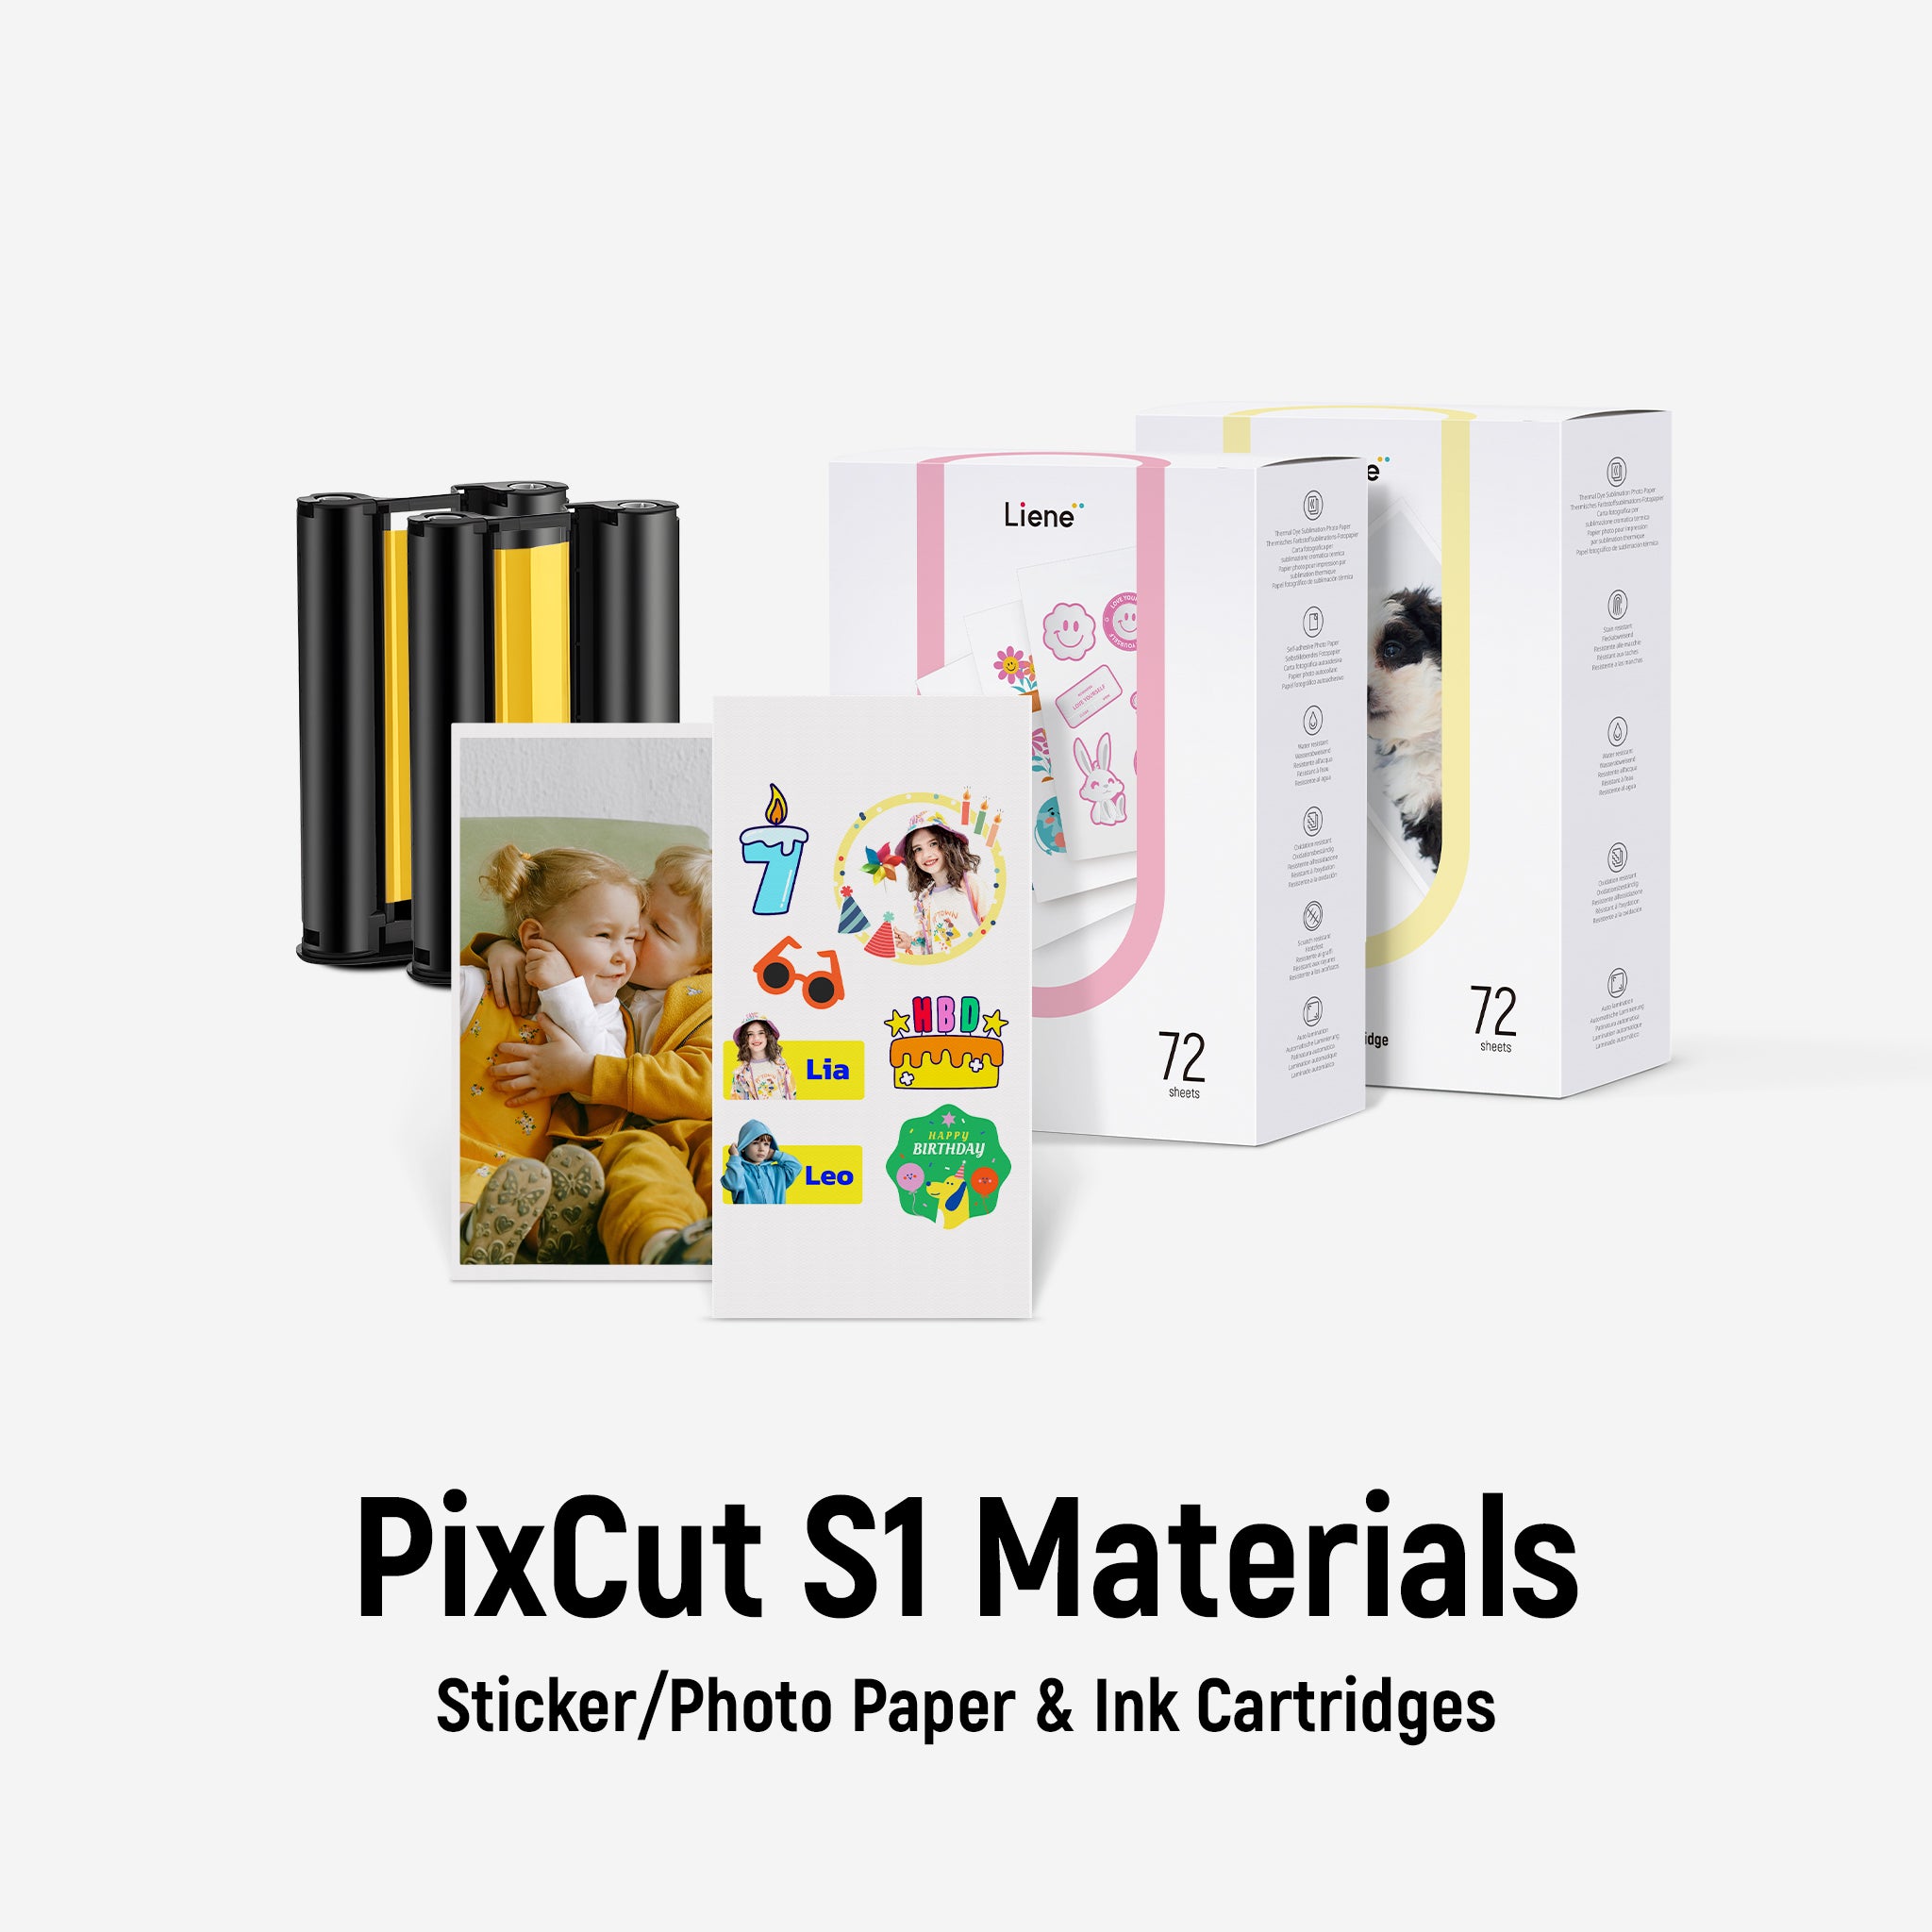
- Sticker or photo paper: Pick whatever PixCut S1 material makes sense for what you're doing. Like 4x7" glossy sticker paper if you want them to actually stick to things, or 4x6" photo paper if you just want to tie them on with string.
- Something to print: Either make a design in the Liene App, or you can also import a design from platforms such as Canva.
- The Liene App: You'll need this on your phone to design stuff, arrange everything, and tell the machine what to do.
If you want to go an extra mile, you might also grab the following:
- Some twine, ribbon, or little decorations to jazz things up
- A hole punch if you need somewhere to thread the string through
Having everything ready just makes the whole thing go way smoother. The PixCut S1 does most of the work anyway, so once your design and paper are sorted, the rest is pretty straightforward.
Step-by-Step Guide to Making DIY Gift Tags with PixCut S1
Making your own tags with the PixCut S1 is honestly pretty simple. Here's how to do it:
Step 1: Choose or Create Your Design
Jump into the Liene App and either grab one of their templates or start from scratch. Throw in some text, shapes, little icons, whatever you want. Already made something in Canva? Just upload it straight into the app. Tips:
- Go with bold fonts so people can actually read the names or messages.
- Keep your designs around 2"–3" – that's the sweet spot for gift tags.
- Little touches like dotted borders or tiny icons make everything look way cuter.
Step 2: Load Your Sticker Paper
Slide your tag paper or sticker sheet into the PixCut S1 tray. Make sure it's lined up right so you don't end up with crooked or faulty prints. Pick your paper type in the app if it asks.
Step 3: Print at 300dpi
Set it to 300dpi for really nice colors and sharp details. It's really important if you've got small text or detailed designs. This setting just makes everything look way more professional.
Step 4: Let PixCut S1 Do Its Thing
After it prints, the PixCut S1 scans your design and starts cutting with that smart AI feature. Rectangle, circle, unique custom shape – doesn't matter, it cuts exactly where it should without you having to do anything.
Step 5: Peel and Stick (or Mount on Cardstock)
Once they're cut, you can either peel and stick them right onto your gifts, or stick them onto some colored cardstock to make them sturdier and more interesting. Want to tie them on? Just punch a hole for string or ribbon.
Step 6: Make Them Even Better
This is where you can get creative – add some handwriting, maybe a little glitter, tiny stickers, or stamp something on there. These little extras can go a long way.
Creative Gift Tag Ideas to Try

Need some inspiration? Here are some fun gift tag styles that work really well with the Liene PixCut S1:
- Birthday Name Tags: Go crazy with bright colors, fun fonts, and little icons like balloons or birthday cake. Put each person's name and maybe their age on there – kids especially love seeing their name on things.
- Simple Holiday Tags: Keep it clean with little snowflakes or leaves and short phrases like "Joy" or "Warm Wishes." You could even throw in a QR code that links to a holiday video or message if you're feeling fancy.
- Thank-You Tags for Your Stuff: Perfect if you're selling handmade jewelry, or any other product. Throw your logo on there, write something like "Thanks for the purchase" and add your Instagram so they can see what else you're up to.
- Baby Shower or Wedding Tags: Just match the party vibes – maybe those soft dusty rose colors everyone's obsessed with, or sage green if they're going earthy. Write something sweet like "Made with love" or "Can't wait to meet you, little one."
- Business Tags: Stick to your brand's aesthetic. Maybe toss in a discount code or just your website. People actually use those discount codes way more than you'd think. It's a sneaky way to get people to come back and buy more stuff.
You can make all of these in different shapes with the PixCut S1. Try layered tags or go with Liene’s glossy sticker paper for a polished, professional look. If you don't have time to design from scratch, you can also design stickers fast with free templates to save time and effort. These little touches turn boring wrapping or packaging into something that actually feels special and thoughtful.
Why PixCut S1 Is Perfect for DIY Tag Projects
When it comes to creating high-quality DIY gift tags, not all tools are made equal. The Liene PixCut S1 is designed for simplicity, creativity, and precision—making it ideal for beginners, hobbyists, and small business owners alike.
Here’s why it stands out:
- 300dpi high-resolution printing ensures sharp, colorful designs that look store-bought.
- AI-powered cutting delivers precise shapes, whether you want classic rectangles or unique custom styles.
- Wireless app control means you can design, print, and cut directly from your phone or tablet.
- Material compatibility includes Liene’s official glossy sticker paper, giving your tags a professional look.
- Quiet and compact design fits easily into any workspace, whether you're crafting from home or running a small shop.
PixCut S1 simplifies the full process, from app design to cutting, so you can focus on creativity, not setup. It’s especially helpful for small business owners who want to add a professional touch to packaging without outsourcing.
What makes it even better is its ability to support various Kiss-Cut shapes—rounded corners, simple custom outlines, or small stickers are all achievable with minimal effort.
If gift tags are something you’ll use regularly—at holidays, craft fairs, or for customer orders—PixCut S1 is a powerful, affordable tool to have in your creative corner.
Conclusion

DIY gift tags are more than decoration. They add a thoughtful, personal touch to any gift or product. Whether it’s for a birthday, an order, or a holiday, custom tags show you care.
With the Liene PixCut S1, creating tags is quick, polished, and entirely app-controlled. Just design, print at 300dpi, and let the machine cut perfect shapes with AI precision.
You can also use it to create a personalized photo album, complete with captions, dates, or custom stickers.
Ready to start? Add style to every package or project—make your own tags today with PixCut S1.
FAQs
1.What paper should I use for sticker gift tags? Use Liene’s official 4×7″ glossy sticker paper, which is specially designed for the PixCut S1 to ensure the best printing and cutting quality. Third-party papers are not compatible and may cause issues with printing or cutting.
2.Can PixCut S1 cut gift tags into different shapes? Yes! The AI-powered cutting function allows for a variety of tag shapes—circles, rounded rectangles, and even custom outlines.
3.Do I need any design experience to use PixCut S1? Not at all. The Liene App includes beginner-friendly templates, drag-and-drop tools, and wireless control for easy design and printing.
4.Can I make tags for my small business packaging? Absolutely. Many small businesses use PixCut S1 to print and cut branded tags for product packaging, customer gifts, and thank-you notes.
5.Are PixCut S1 gift tags peel-and-stick? If you're using sticker paper, yes! The tags are peel-and-stick, making them easy to apply to boxes, bags, or cards.
Leave a comment
All comments are moderated before being published.
This site is protected by hCaptcha and the hCaptcha Privacy Policy and Terms of Service apply.