


If you enjoy using a planner, you know the joy of adding stickers to your pages. They make each spread more colorful while helping you organize tasks, remember important dates, and stay motivated toward your goals. This guide will walk you through the process of creating your own planner stickers, from designing to printing and cutting them at home. By the end, you will have everything you need to fill your planner with stickers that reflect your style and make planning more enjoyable.

What You Need to Start Making Planner Stickers
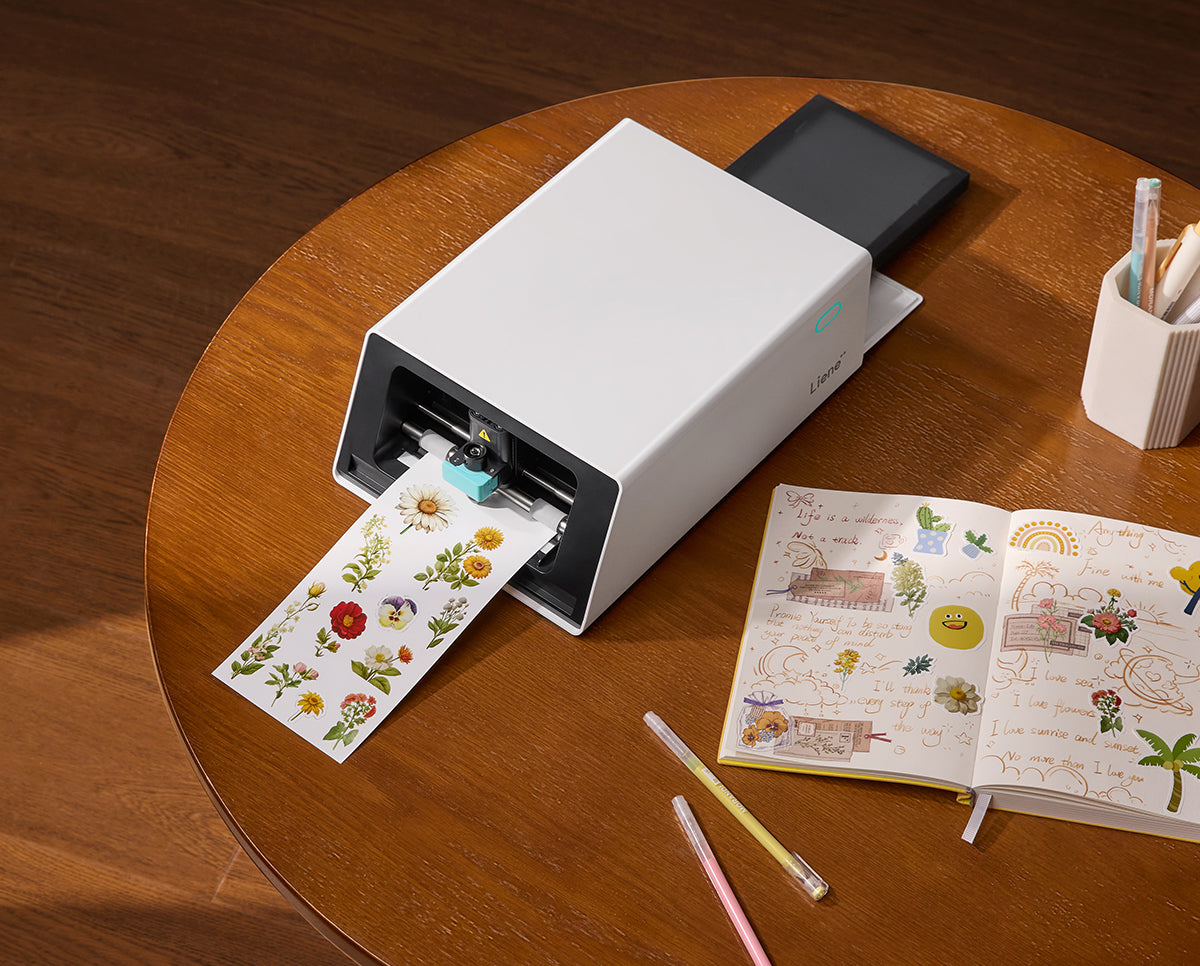
Printer: The Liene PixCut S1 Photo Sticker Printer and Cutter delivers photo‑quality printing and precise kiss‑cutting in one sleek device, making it simple to create professional stickers at home.
Design Tools: Use Canva, Procreate, or the Liene App to design your stickers. The Liene App also offers ready‑made templates you can personalize in minutes.
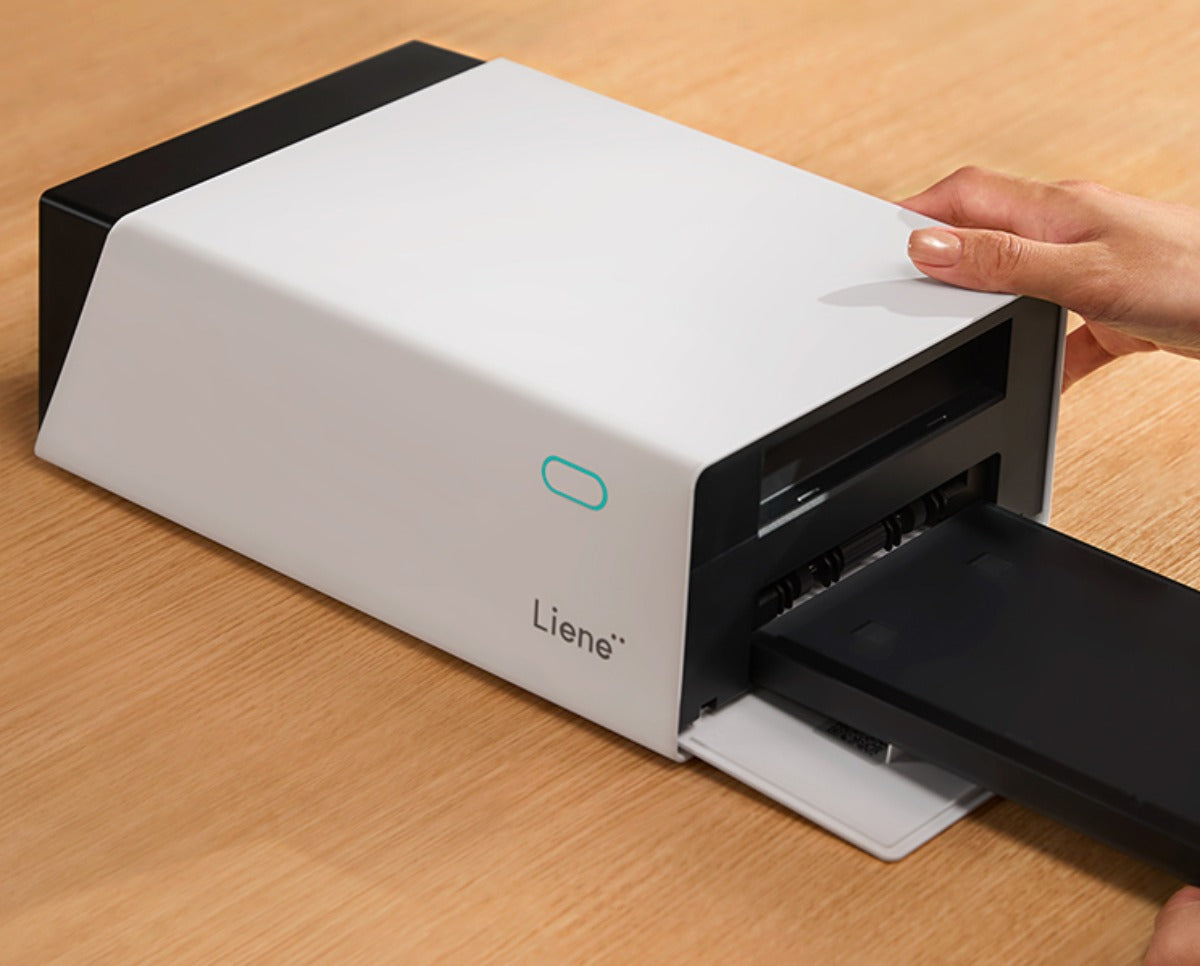
Paper: Go for the official Liene 4×6" photo paper or 4×7" PET photo‑grade sticker paper for the sharpest prints and cleanest cuts. Glossy finish is available now, while transparent and metallic options are coming soon.
Mobile Device: A phone or tablet lets you connect to the Liene App and send your designs straight to the printer.
Step-by-Step Guide: Print & Cut Your Planner Stickers with PixCut S1
Turn your ideas into professional looking planner stickers with PixCut S1. Follow these four simple steps to start creating:

Step 1: Upload or Design: Open the Liene App, design your planner stickers in-app or import from Canva/Procreate. Save as high-resolution PNG (transparent background recommended) or JPG.
Step 2: Start Printing: Insert your sticker paper, choose 300 dpi for sharp details, and start printing with one tap.
Step 3: Automatic Kiss-Cut: PixCut S1 auto-detects outlines and kiss-cuts precisely, even for complex shapes—no manual tracing needed.
Step 4: Peel & Apply: Easily remove your stickers and decorate your planner, journals, or any smooth surface.
Pro Tips for Perfect Stickers
Want your planner stickers to look flawless every time? These simple tricks will take your designs from good to amazing.
Mix styles for more fun: Combine decorative stickers with functional ones so your planner is both beautiful and practical.
Store extras properly: Keep leftover stickers in a reusable folder or zip pouch to protect them from dust and bending.
Starting a Small Sticker Business
Planner stickers are in high demand. From students organizing their schedules to busy professionals tracking goals, millions of people are buying them every month on platforms like Etsy and Shopify. This is your chance to turn creativity into income. With the Liene PixCut S1, you can design, print, and cut professional‑quality stickers right at home, making it easy to launch a shop without expensive outsourcing. Start with planner stickers, then expand into logo labels, thank‑you tags, or custom inserts. The market is ready, and your designs could be exactly what people are searching for.
Final Thoughts
From creating your design to printing and precision cutting, making planner stickers has never been this easy. With the Liene PixCut S1, you can bring your ideas to life and enjoy the satisfaction of using stickers that are truly your own. Ready to start? Visit the PixCut S1 Help Center for more tutorials and FAQs, then begin creating today.
FAQs
Can I make planner stickers without any design skills?
Absolutely. The Liene App offers ready‑made templates you can customize in minutes. You can also use beginner‑friendly tools like Canva to create your own designs without needing advanced graphic skills.
Do I need special paper to print planner stickers?
The PixCut S1 is designed to work primarily with Liene’s official 4×6 and 4×7‑inch PET photo‑grade sticker paper, optimized for high‑quality printing and precise cutting with thermal dye‑sublimation technology. To ensure the best performance and results, only Liene brand paper is supported. Transparent and metallic finishes will be available in about 6 months.
Leave a comment
This site is protected by hCaptcha and the hCaptcha Privacy Policy and Terms of Service apply.