


Your phone goes everywhere with you, so why not make it feel a little more like you? DIY phone stickers are a fun and affordable way to add personality to your device without changing the case. In this article, you’ll learn how to design, print, and apply your own custom stickers using simple tools and your favorite images. Whether you love clean minimalist looks or bold colorful designs, you’ll find step-by-step tips and creative ideas to get started today.
Why DIY Phone Stickers Are the Perfect Decoration
You look at your phone dozens of times a day. Adding your own stickers turns it from just another device into something that feels personal and full of character.
Show what you love: Your phone can reflect who you are. Maybe it’s a tiny sketch of your cat, a favorite quote, or a small tribute to your favorite show. Whatever you care about, you can turn it into a sticker that lives right on your case.
Change it whenever you like: Some days call for calm colors. Others feel better with something bright and fun. With your own stickers, you can switch things up whenever the mood changes. No need to buy a new case or spend time searching for a perfect design.
Save money without limiting your style: Sticker packs from stores add up fast, and you rarely use all the designs. Making your own means you only create what you actually like. Once you start, you’ll find it’s not just cheaper but way more satisfying.
Make it last: Homemade doesn’t have to mean low quality. With the right sticker paper, your designs can handle water, scratches, and busy days in your bag without falling apart.
Essential Materials and Tools You Will Need
Before you dive into designing, it's good to have a few tools ready. With just the right setup, you can turn your ideas into clean, professional-looking stickers in minutes.
1. Sticker Printer
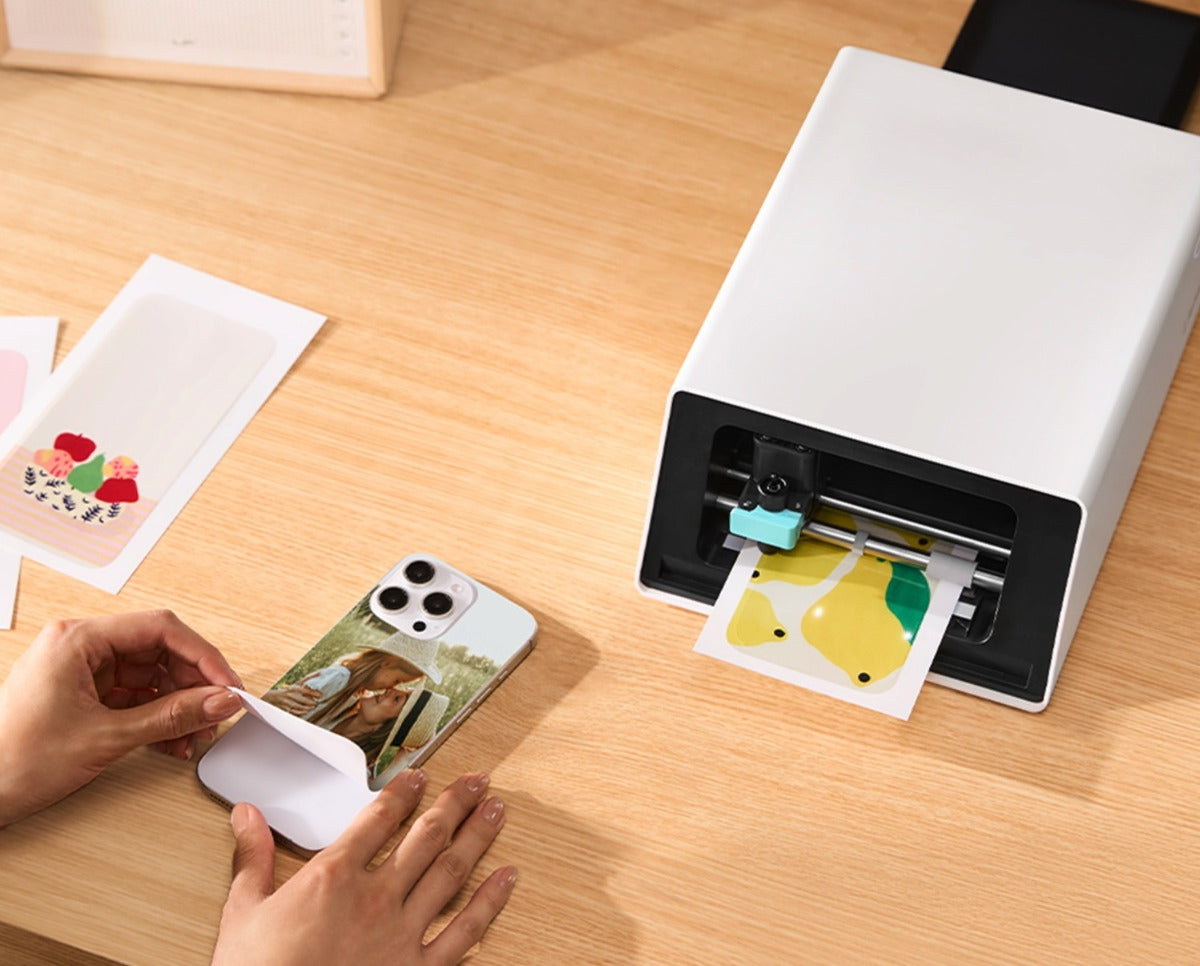
Instead of cutting by hand, you can use a machine that does both jobs for you. The PixCut S1 Sticker Maker prints your artwork and automatically cuts around each shape with precision. It's compact, beginner-friendly, and perfect for anyone who wants their stickers to look neat without the extra hassle.
2. Sticker Paper
Look for sticker paper that’s waterproof, easy to peel, and compatible with your printer. Good paper makes a big difference, especially if you want your designs to last more than just a few days.
3. Design Software or App
You can create your stickers using free tools like Canva, Procreate, or the PixCut App. Export your designs in PNG or JPG format, and if possible, use transparent backgrounds so the stickers blend better with your case.
4. Creative Inspiration
Photos, drawings, patterns, even little doodles from your notes—anything can become a sticker. Try combining different elements to make something fun and personal.
5. Clear or Light-Colored Phone Case
Clear or light-colored cases work best. They make your designs pop and give you a clean canvas to build on.
How to Create Your Own DIY Phone Stickers
If you choose the PixCut S1 Sticker Maker, the process becomes incredibly simple. With a few taps and a little creativity, your custom phone stickers will be ready in minutes.

Step 1: Upload or Design
Open the Liene App and start designing your stickers directly in-app, or import finished artwork from Canva or Procreate. Save your files as high-resolution PNG or JPG. For best results, use transparent backgrounds so the final sticker shapes look clean and professional.
Step 2: Start Printing
Load your sticker paper into the printer. Set the print quality to 300 dpi to keep your lines and colors sharp. Once you’re ready, just tap print and let the machine do the rest.
Step 3: Let It Cut for You
The PixCut S1 will automatically detect the outlines of your designs and cut them out with precision. Even small, detailed shapes are handled easily—no need for scissors or manual tracing.
Step 4: Peel and Apply
Carefully peel your finished stickers from the backing sheet. Then place them on your phone case, adjust as needed, and press down gently. That’s it—your phone now has a brand-new look made entirely by you.
Creative Ideas to Inspire Your Phone Sticker Designs
No idea what to design? Here are a few fun and easy themes to spark your creativity. Pick one that matches your style, or mix a few together to make something totally your own.
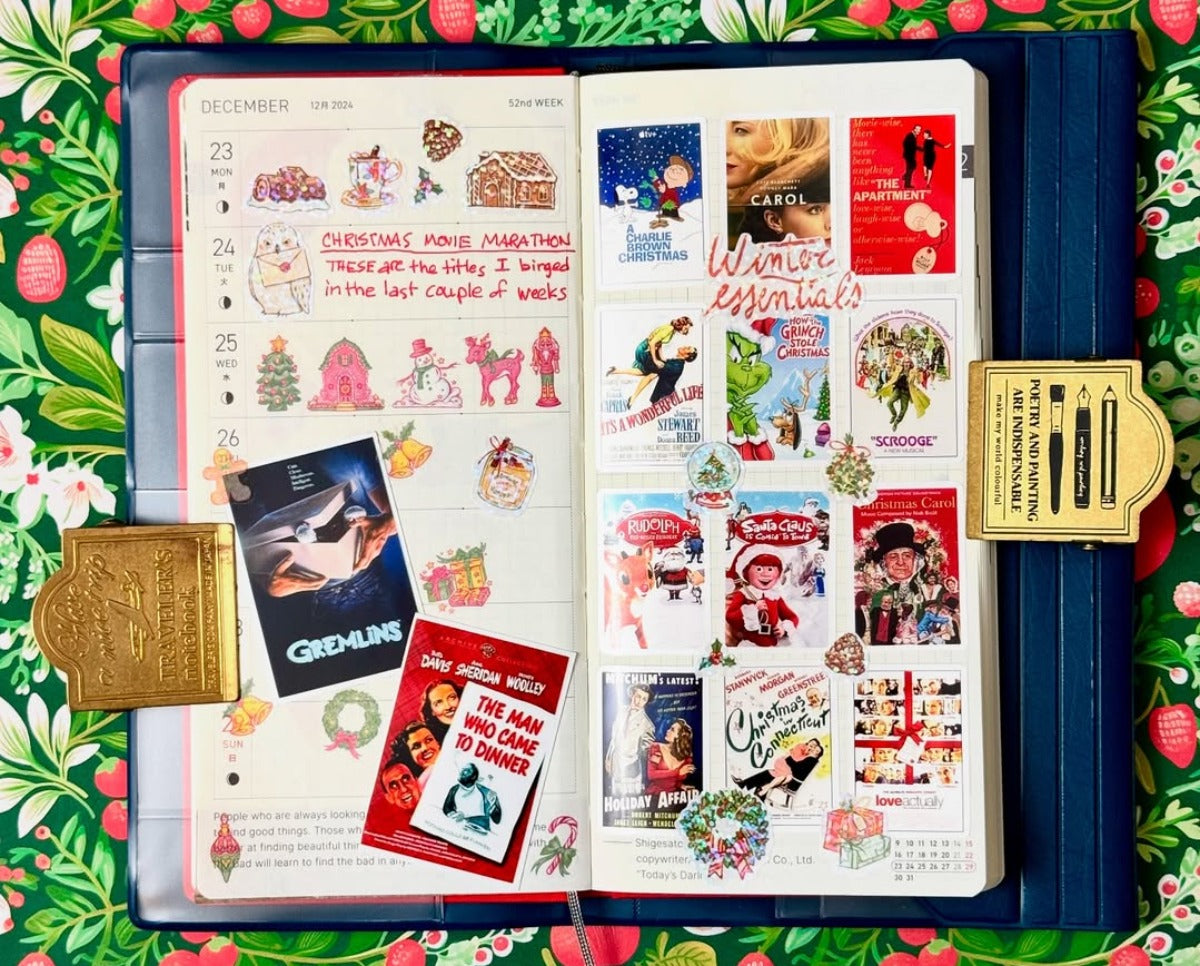
Seasonal or holiday-themed packs: Create cozy autumn leaves for fall, snowflakes for winter, or pastel flowers for spring. Your phone can celebrate the seasons right along with you.
Name tags or signature stickers: Design a custom sticker with your name, initials, or a small phrase you love. It’s simple, personal, and makes your phone feel like it’s truly yours.
Travel memories from your own photos: Turn favorite snapshots from trips into tiny photo stickers. Add the location name or a date, and you’ve got a mini travel journal right on your case.
Minimalist icons and geometric shapes: If you like clean and modern looks, try simple line icons, shapes, or color blocks. These work especially well on clear cases and give a sleek finish.
Collage or mixed-media style: Combine textures, cut-out images, text snippets, and doodles to create a layered, scrapbook-style sticker. It’s messy in the best way and full of personality.
Expert Tips to Make Your Stickers Last Longer
Once you’ve made your perfect stickers, it’s worth taking a few extra steps to make sure they stay looking fresh. Here’s how to keep them from peeling, fading, or getting damaged too soon.
Choose the right sticker material: Use paper that’s waterproof and scratch-resistant. This keeps your designs safe from spills, sweaty hands, and daily wear.
Clean your phone case before applying: Dust, oils, or uneven surfaces can stop stickers from sticking well. Wipe your case with a soft cloth to help them stay put.
Use removable paper for clean swaps: If you like changing designs often, go for removable sticker paper. It peels off easily without leaving sticky marks behind.
Refresh your design from time to time: Even long-lasting stickers can look tired after a while. Switch things up with seasonal themes or new colors to keep your phone feeling fresh and fun.
Conclusion
There’s something especially satisfying about decorating your phone with stickers you made yourself. It’s simple, personal, and surprisingly fun. Whether you’re trying it for the first time or already full of ideas, now is the perfect moment to start. Pick a photo you love, sketch something just for you, or try a new theme you’ve never used before. Once you see your design on your phone, you’ll wonder why you didn’t do it sooner.
FAQs
Do I need to be good at design to make my own phone stickers?
Not at all. You can start with simple shapes, text, or even use photos from your camera roll. Tools like Canva or the Liene App offer ready-made templates and icons, so even beginners can create great-looking stickers with just a few taps.
Will the stickers damage my phone or case?
As long as you use clean, removable sticker paper and apply the stickers to a smooth surface like a clear phone case, they won’t leave residue or cause damage. Just avoid putting them directly on your phone’s back if it’s textured or has a special coating.
How long do DIY phone stickers usually last?
It depends on the materials you use and how you handle your phone. With good waterproof and scratch-resistant sticker paper, your stickers can stay in great shape for several weeks or even longer. Regularly cleaning your case and keeping it dry also helps them last.

Leave a comment
This site is protected by hCaptcha and the hCaptcha Privacy Policy and Terms of Service apply.