


Your laptop goes everywhere with you, so why should it look like everyone else's? Stickers have become a popular way to add personality, share what you love, and make your device stand out. They are not just decoration. In this article, you will learn how laptop stickers can reflect your style, protect your device, and even support brand promotion. We will cover how to design eye-catching stickers, choose the right tools to print them, and apply them cleanly for a professional look. Whether you are creating for fun or for business, this guide will help you get started.
Benefits of Using Laptop Stickers
So what makes laptop stickers more than just decoration? Here are a few real benefits that are both fun and practical.
Personalization and self-expression: Stickers let you show your style in a simple, visible way. From favorite quotes to original designs, they turn your laptop into something that feels personal and one of a kind.
Brand marketing and social media value: If you run a brand or create content, your laptop becomes free ad space. A well-placed sticker can boost visibility during meetings, public work sessions, or online posts.
Protection from scratches: Stickers can add a thin layer of protection. They help reduce small marks, especially in areas where your hands or accessories come into contact with the surface.
Collectible and meaningful: Some stickers carry memories. Over time, your collection can become a visual record of places you’ve been, things you love, or work you are proud of.
How to Design Laptop Stickers That Stand Out
Want your stickers to stand out, not get ignored? Here are four clear ways to improve your design.
Start with the right size: Laptop stickers usually look best between 6 and 8 centimeters wide. Too small and details get lost,too large and they’re hard to place. Stick to common shapes like circles and rounded rectangles if you're printing at home, since they’re easier to cut cleanly.
Use color and fonts with purpose: Pick one bold color as your main focus, then add one or two neutral tones for balance. For text, use sans-serif fonts like Montserrat or Open Sans if you want something modern and readable. Keep all text above 8pt size to make sure it prints clearly.
Use the right tools and safe assets: Canva is best for beginners, Figma is great for layout control, and Photoshop is ideal for details. Use royalty-free image libraries like Unsplash for backgrounds, or The Noun Project for icons.
Blend hand-drawn and digital styles: Sketch your idea on paper or Procreate, then refine it digitally. This gives your design a personal feel, and avoids the "template look" that many free designs have.
Best Ways to Print Custom Laptop Stickers
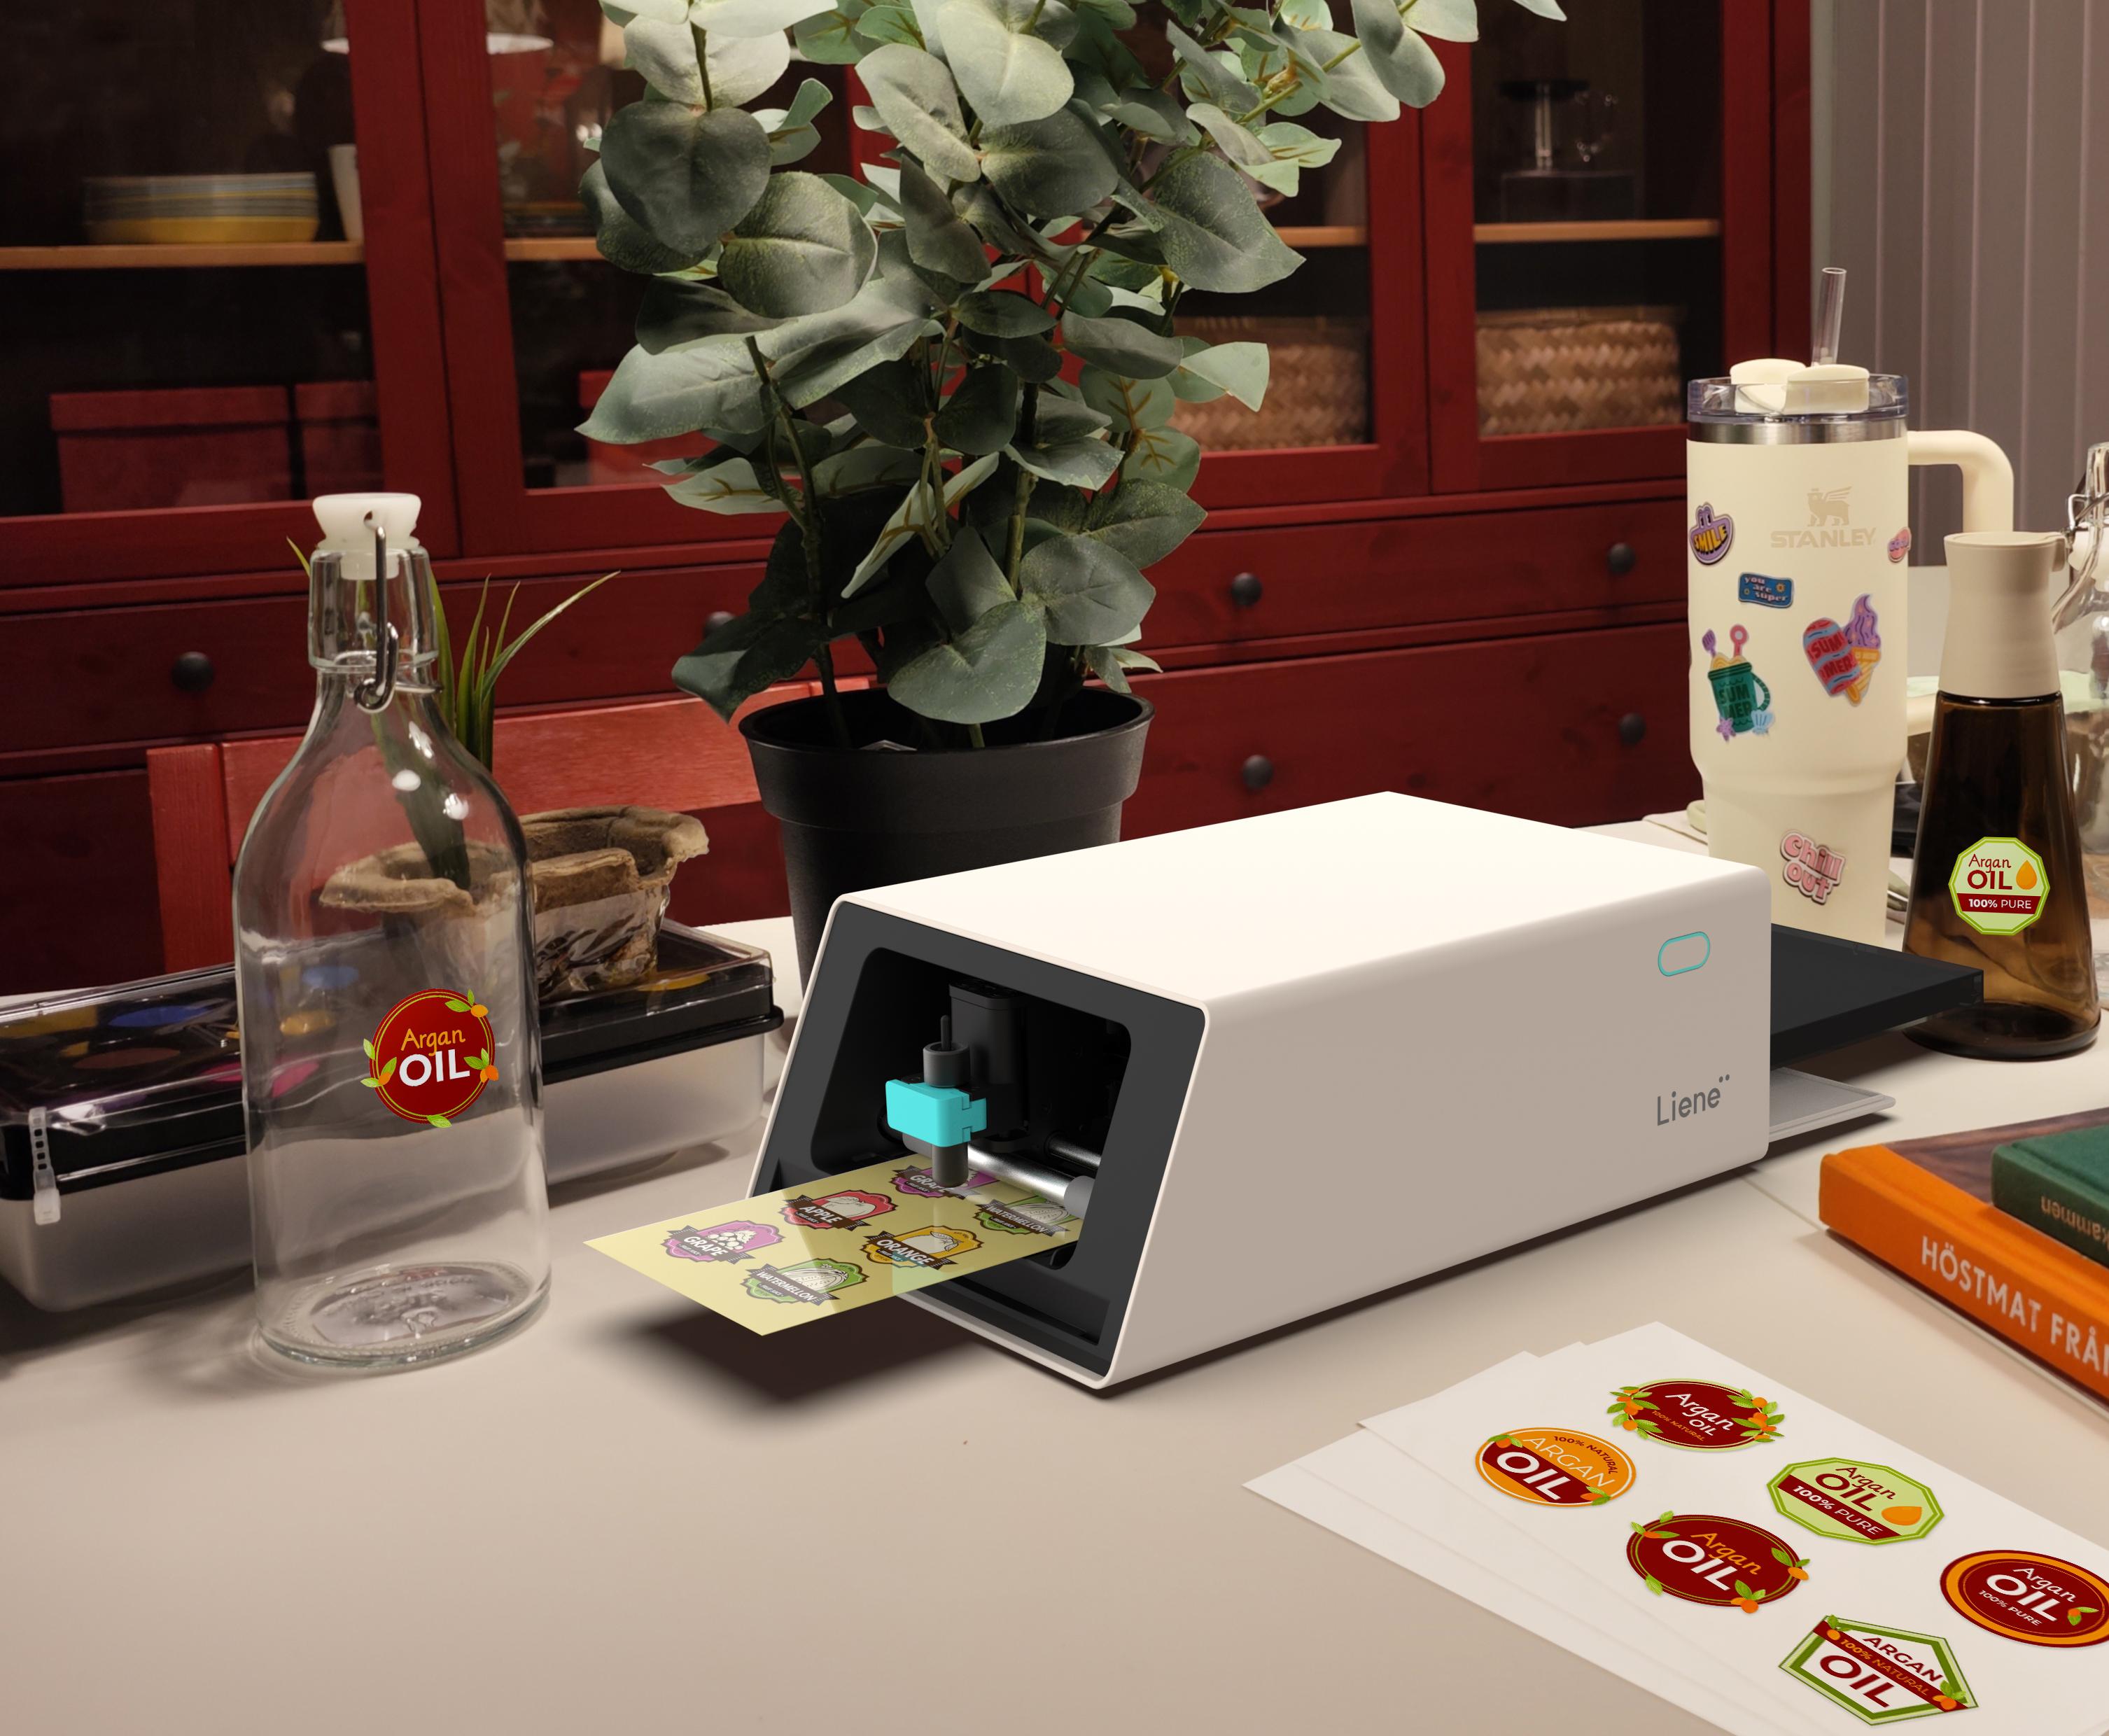
There are a few ways to print your custom laptop stickers, each with its own pros and cons. If you prefer creating at home with more control and better quality, the Liene PixCut S1 offers an all-in-one solution. Here's a quick comparison to help you choose the right method.
|
Printing Method
|
Pros
|
Cons
|
Best For
|
|
Outsourced Printing
|
Consistent quality, suitable for large batches
|
Long turnaround, limited flexibility
|
Commercial bulk orders
|
|
Home Printing
|
On-demand printing, lower cost
|
Manual cutting required, less durable, not waterproof
|
DIY beginners
|
|
Liene PixCut S1
|
Print + cut in one, waterproof, scratch-resistant, fade-proof, high-precision cutting (0-3mm margin)
|
Initial device investment
|
High-quality, flexible creators
|
Step-by-Step Guide to Making Laptop Stickers at Home
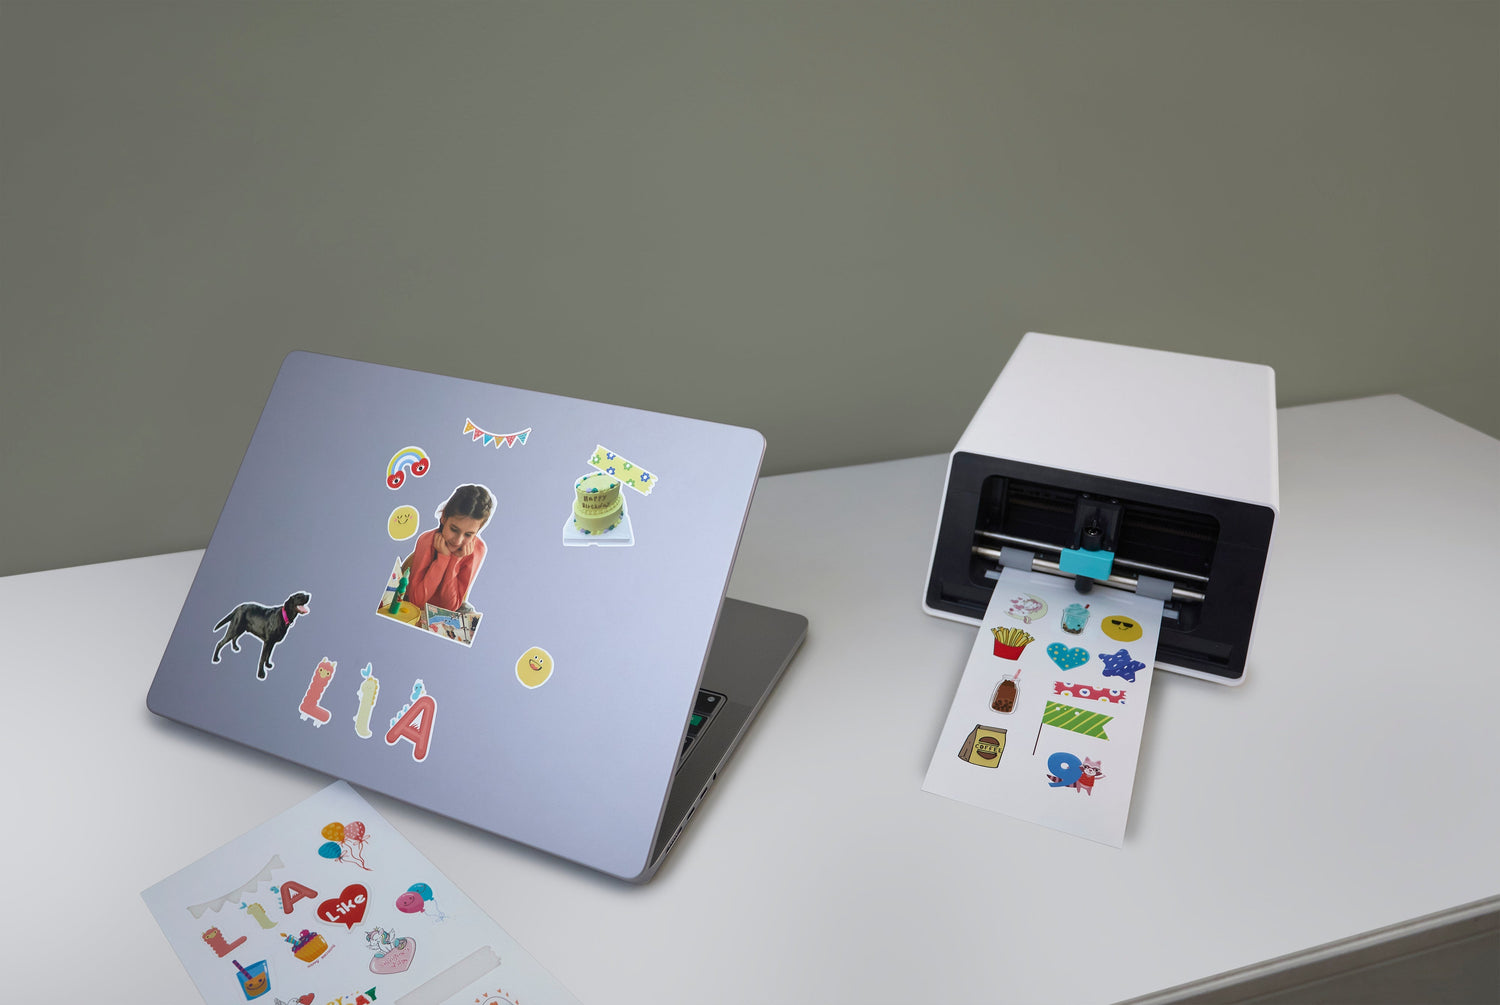
Once you've finalized your design and picked your materials, it's time to bring your stickers to life. With the PixCut S1, the process is simple and beginner-friendly. Just follow these four steps to create high-quality laptop stickers from home.
Step 1: Upload or Design
Open the Liene App to design your laptop stickers or import files from Canva or Procreate. Save your design as a high-resolution PNG or JPG.
Step 2: Print Your Stickers
Insert waterproof sticker paper into the PixCut S1. Select 300 dpi for clear lines and vibrant color, then start printing with a single tap.
Step 3: Automatic Kiss-Cut
PixCut S1 detects the edges of your design and performs precise kiss-cutting. It handles both simple and detailed shapes without manual setup.
Step 4: Peel and Apply
Gently peel off your stickers and place them on your laptop or any smooth surface. They stick well, look clean, and are ready to show off.
How to Apply and Maintain Laptop Stickers Without Damage
Stickers are fun to use, but if you stick them carelessly, they may peel off quickly, trap bubbles underneath, or leave sticky marks when removed. Here’s how to apply and care for your laptop stickers properly, so they last longer and look clean from day one.
Clean the surface before applying: If there’s dust, oil, or moisture on your laptop, your sticker won’t stick well. Use an alcohol wipe or a microfiber cloth to clean the area first. Let it dry completely before you apply anything.
Stick slowly to avoid air bubbles: Don’t just slap the sticker on. Align it carefully, press down from the center, and slowly smooth outward using a plastic card or your finger. This pushes out trapped air and helps the sticker lie flat.
Avoid corners and high-friction spots: Sticker edges peel easily if they’re near sharp corners, ports, or where your palms rest. Place stickers at least 1–2 cm away from those areas to avoid rubbing or lifting over time.
Don’t clean stickers with alcohol: Once applied, never use alcohol or strong cleaners on your stickers. These can fade the print or loosen the adhesive. Just wipe gently with a soft, damp cloth if needed.
Use heat to remove stickers cleanly: If you ever want to remove a sticker, warm it up with a hairdryer on low for 10–15 seconds. This softens the glue. Then peel slowly using a plastic card or scraper. This avoids glue residue and damage to the laptop surface.
Creative Ideas for Using Laptop Stickers
Laptop stickers can do much more than decorate your computer. Here are a few simple and creative ways to use them beyond your laptop.
Phone, tablet, and water bottle: These are great for personalizing items you carry every day. Just use waterproof sticker paper so the designs last through regular handling.
Journaling and scrapbooking: Add stickers to mark dates, highlight quotes, or decorate pages. Custom shapes and colors can make your entries more fun and expressive.
Gift wrapping and labels: Use small stickers as name tags, seals, or branding elements on packaging. They add a thoughtful, handmade touch.
Office gear and desk setup: Stick them on notebooks, folders, or your monitor stand to brighten up your workspace and keep things feeling personal.
Conclusion
Designing your own laptop stickers is simple, fun, and genuinely rewarding. You can create something personal, useful, and completely your style. Whether you want to add personality to your device, organize your space, or just try something creative at home, sticker-making is a great place to start. All it takes is one idea and a little time to make it your own.
FAQs
Are laptop stickers waterproof?
If you're using Liene sticker paper, yes. The stickers are waterproof, fade-resistant, and scratch-resistant thanks to a protective layer added during printing. You can get this effect by using Liene's sticker paper and ink set, which is made for the PixCut S1.
How long do laptop stickers last?
Stickers made with the right materials can last over a year without peeling or fading. Avoid cleaning with harsh chemicals and try not to place them in high-friction areas.
Will stickers damage my laptop’s surface?
Not if you apply and remove them properly. Clean the surface before applying, and when it's time to remove, warm the sticker slightly with a hairdryer and peel it off slowly to avoid residue.

Leave a comment
This site is protected by hCaptcha and the hCaptcha Privacy Policy and Terms of Service apply.