


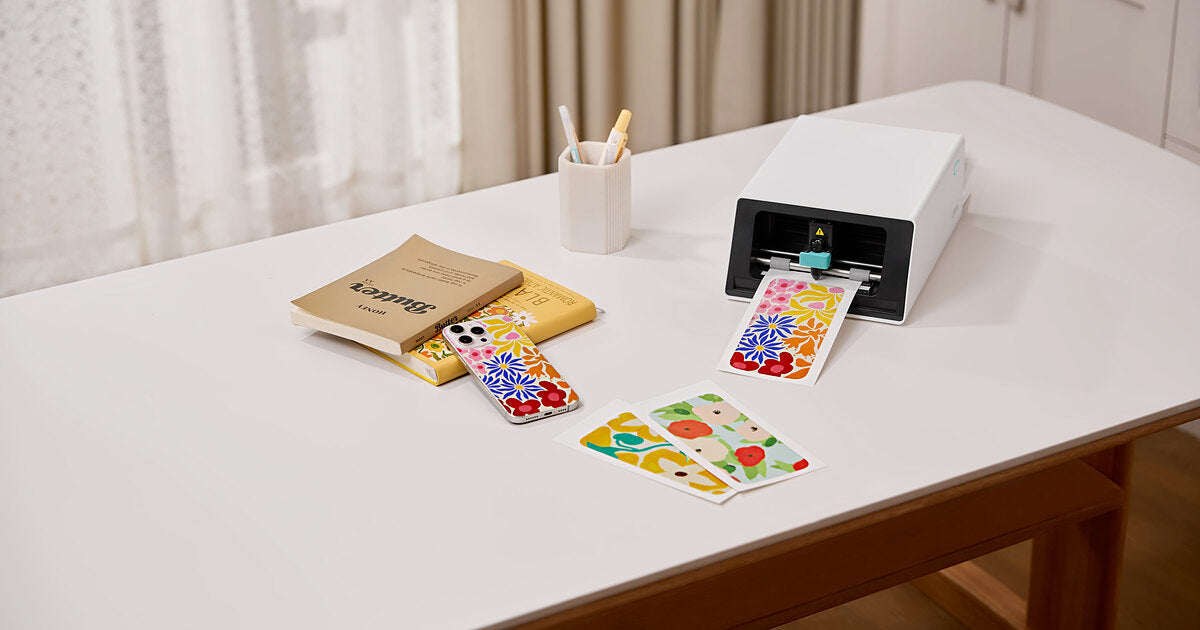
Short answer first, since that’s what you came for. An all-in-one sticker printer and cutter is the pick for most people, and the one we make, the Liene PixCut S1, prints, laminates and cuts in a single pass for about $0.20 a sticker. Maybe you already own an inkjet, though, and don’t mind fiddling with mats and calibration, in which case a cutting machine setup will also get you finished stickers, eventually, after more steps than the box art implies.
Three routes. That covers just about every way people make stickers at home right now, and this guide goes through each one, what a finished sticker costs on it, and the things that trip people up in the first month.
Quick Picks
Best all-in-one sticker printer and cutter: the Liene PixCut S1, $299.99 Starter Kit, about $0.20 per finished sticker. Ours, so weigh that, but the rest of this guide shows the reasoning.
Best route if your projects go beyond stickers: an inkjet plus a cutting machine such as the Cricut Explore 5 ($199), which also handles vinyl, iron-on and cardstock.
Cheapest way to try the hobby: the inkjet you already own, a pack of sticker paper, and scissors.
The Three Routes, Side by Side
| All-in-one sticker printer and cutter | Inkjet + cutting machine | Inkjet + scissors | |
|---|---|---|---|
| Machines on your desk | 1 | 2 | 1 (the printer you own) |
| Prints and cuts | Yes, automatically | Prints on one, cuts on the other | You cut by hand |
| Waterproofing | Built-in lamination | Add laminate sheets or spray | Add laminate sheets or spray |
| Also cuts vinyl and cardstock | No | Yes | No |
| Typical starting cost | From $299.99, machine and paper included | $99 to $199 for the cutter, plus a printer and supplies | Sticker paper only |
Before anything else, look at the second row, because it surprises people: a cutting machine does not print. Cricut’s newest models, the Joy 2 ($99) and Explore 5 ($199), can both cut around printed sheets using a Print Then Cut sensor, and both still need an inkjet printer sitting next to them to produce the sheet in the first place, which a fair number of buyers only discover once the box is open. The long version of that comparison lives in Sticker Printer vs Cutting Machine.
What to Look For in a Sticker Maker Machine
Month one, everything is exciting. Month two is when the machine choice starts to matter, and five things decide how that goes.
The first is how the cut happens, kiss cut or die cut, by hand or by machine, aligned for you or by you. If those terms are new, kiss cut vs die cut in plain English covers them in two minutes.
Running cost comes next, because the machine is a one-time price while paper, ink and laminate keep billing you, so price out one finished, waterproof sticker on each route before you compare any hardware.
Third, something has to protect the print. Unlaminated inkjet prints are vulnerable to water and smudging, and the laminate layer that prevents that comes from the machine, from a separate laminator, or from you with adhesive sheets, but it has to come from one of them.
Software is the fourth: some ecosystems run entirely on free apps, others have optional subscriptions that regular users tend to end up paying for anyway, so read the fine print before a template library wins you over.
And fifth, honestly, just measure your desk. One machine or two, plus mats and tools and somewhere to keep the paper.

Route 1: The All-in-One Sticker Printer and Cutter
This is the route we’d point most people to, and yes, we make the machine, so weigh that as you read. With the Liene PixCut S1, the entire process happens inside one box: you set up a design in the free app, tap print, and the sheet gets printed, laminated with a four-layer protective coat, and cut around each design before it comes back out. You peel. That’s the workflow. There is no second machine to buy and no step where you carry a printed sheet across the desk and try to line it up on a mat.

The printing itself is 300 DPI dye-sublimation, a different technology from inkjet. Instead of spraying dots it lays color down in continuous tone, which is why photo stickers come out looking like actual photos rather than screenshots of photos. Cutting is handled through the app, which finds the subject in your design, separates it from the background, and sends the machine an outline to follow. The app costs nothing and stays that way, no subscription, with more than 50,000 templates included. It runs on iOS and Android and holds a Bluetooth 5.0 connection with up to three devices, which in practice means your phone and your kid’s tablet can both send jobs without re-pairing every time.
TechRadar gave it 4.5/5 and a Recommended badge. The Make: magazine review came at it from the craft-fair angle instead and called it a strong fit for sellers customizing stickers for customers at in-person events.
Worth being clear about scope. Stickers, photo stickers, labels: that’s the job it’s built for, and vinyl, iron-on and cardstock belong to the next route, so if your plans run past stickers, keep reading. Two design habits pay off here: keep a little contrast in the design and leave about 4 mm between designs on a sheet, and the auto-cut will trace every edge cleanly.
The Starter Kit runs $299.99 with 18 sticker sheets (4×7”) and 18 photo sheets (4×6”) in the box, which is enough paper to get past the awkward first attempts before you’re paying for refills.
Route 2: An Inkjet Printer Plus a Cutting Machine
The craft-room classic. Design Space, Cricut’s software, is free, and there’s an optional Access subscription at $9.99 a month if you want its extra content, though you can skip it. The workflow goes: design, print the sheet on your inkjet, smooth it onto a sticky mat, feed the mat in, and let the machine hunt for the registration marks around the page edge so it knows where your printing actually landed. Usable print area on US Letter is 7.44” × 9.94”.
So why would anyone choose this? Everything that isn’t a sticker. Vinyl decals for the car, iron-on for team shirts, cardstock for birthday cards, a cutting machine does all of it, and if that list genuinely matches your plans, buy the cutter and let sticker making be one of its jobs rather than the whole point.
The catch tends to show up on a random Tuesday night when the calibration has drifted and the blade wanders off your artwork. Two machines to maintain, two pieces of software, a mat that slowly loses its grip, and inkjet ink that isn’t water-safe until laminate sheets go on top. Cricut’s own sticker paper is $23.99 to $29.99 for 50 sheets, and that’s before ink. None of which is a dealbreaker for people who enjoy the process. It’s just never one tap.

Route 3: An Inkjet and a Good Pair of Scissors
This is where a lot of sticker makers get their start, plenty of today’s shop owners included. You put a pack of sticker paper in the printer you already own and cut the results out by hand, and for square labels, gift tags, or a kid’s first sheet of dinosaurs, that’s genuinely all you need. Total spend: the paper.
What kills it is volume and water. Cutting twenty sheets by hand is a long evening, curved outlines never come out quite matching each other, and plain inkjet prints tend to smudge on the first wet lunchbox unless you laminate them yourself with adhesive sheets. Think of it as the hobby’s free trial, worth doing once. When you want the longer version, making stickers at home walks the whole process step by step, upgrades included.
What Making Stickers Costs
Ignore the hardware for a second and price the paper, because that’s the bill that keeps arriving.
A PixCut S1 refill is $42.99 for 72 sheets, which comes out around $0.60 per sheet, lamination included, and roughly $0.20 per finished sticker. The exact per-sticker number depends on how tightly you pack a sheet. Cricut’s sticker paper sits in a similar band per sheet, $0.48 to $0.60, except that’s the paper alone. Ink is on top. Laminate sheets are on top of that. And the route assumes there’s a working inkjet on the desk to begin with, which is where the hardware math separates the two setups more than the paper does.
What about skipping all of this and ordering stickers online? Depends on quantity. When we ran the numbers for Sticker Printer vs Cutting Machine, printing your own stayed cheaper all the way up to an order of roughly 2,200 sheets in one go. Below that, home wins. Past it, you’re running a small business and should probably be talking to a print shop anyway.

Where Beginners Get Stuck
Read enough reviews and forum threads and the same three complaints keep surfacing, and none of them is about print quality.
Alignment first. A two-device setup means the cutter has to figure out where the ink landed on a sheet it didn’t print, and when that calibration drifts, the blade goes through your designs instead of around them. The one-machine route sidesteps this entirely, since the sheet never leaves the machine between printing and cutting.
Then water. Nobody thinks about lamination until a laptop sticker comes back from a rainy commute with cloudy edges, at which point it becomes very interesting. The laminate has to come from somewhere, and “somewhere” means the machine, a laminator, or sheets you apply by hand.
The third one is slower: app fatigue. Design software here, a print dialog there, cutting software somewhere else, possibly a subscription reminder in your inbox. Every added step is an evening you can lose, so before you compare feature lists, count how many apps a single sticker has to pass through.
FAQ
What is the best sticker printer for beginners? For plain sticker making, the all-in-one route, and the Liene PixCut S1 specifically, since print, laminate and cut happen in one pass with nothing to calibrate. Beginners whose plans include vinyl or iron-on are better served by a cutting machine and an inkjet, learning curve and all.
Do I need a cutting machine to make stickers? No. Scissors handle simple shapes, and an all-in-one sticker printer and cutter does its own cutting. The only route that requires a cutting machine is the one built around a cutting machine, and even that one needs an inkjet next to it.
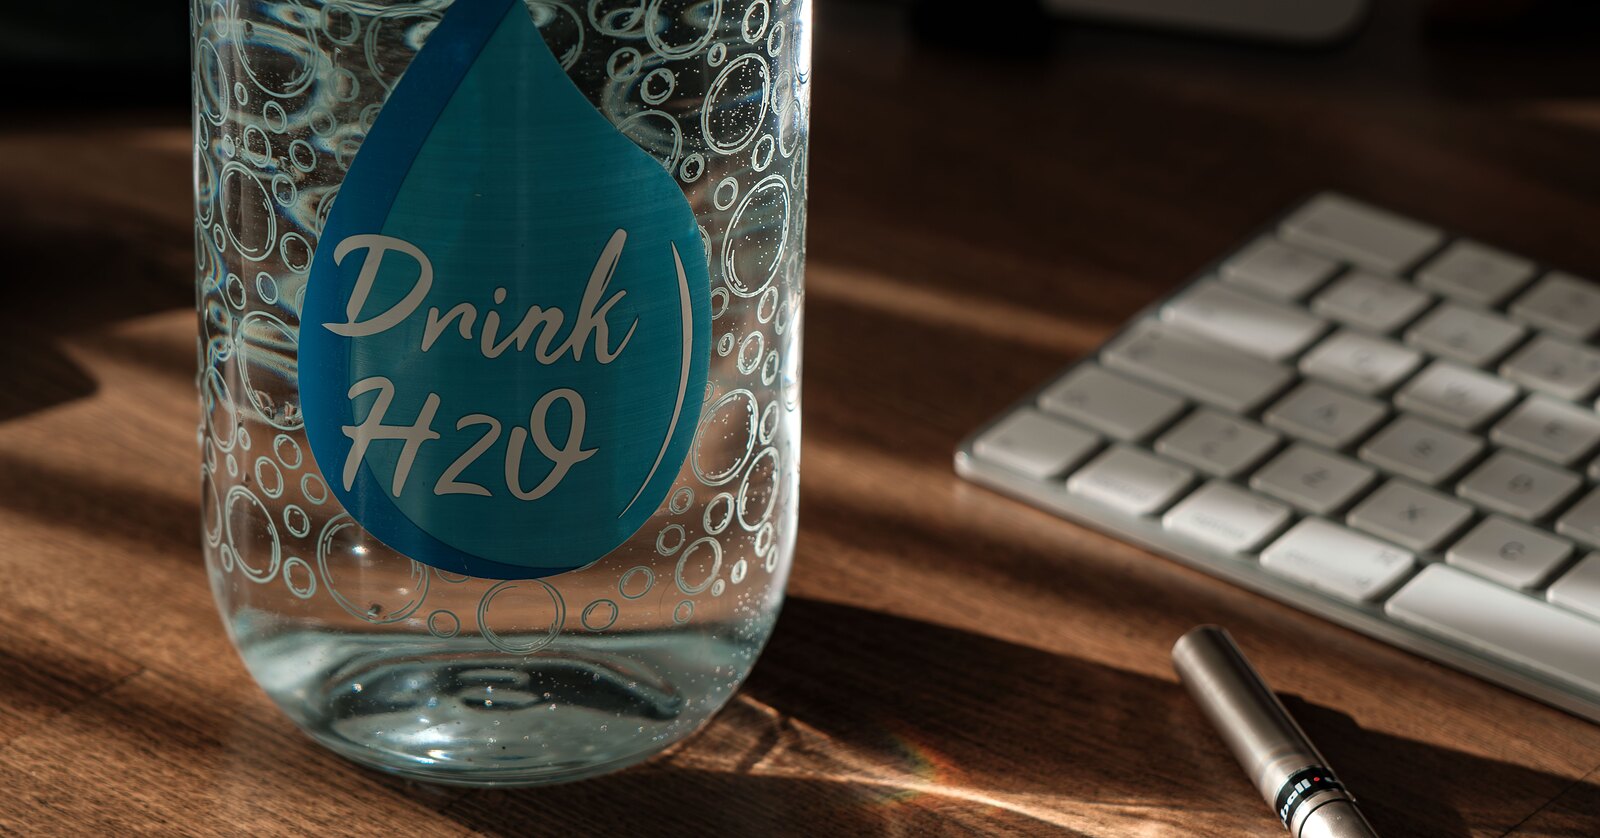
Are homemade stickers waterproof? Only laminated ones. PixCut S1 sheets come out with a four-layer laminate already applied, which is what lets them shrug off water, scratches and fading. Unlaminated inkjet prints aren’t reliably water-safe until you add laminate sheets or a spray coat. And laminated or not, hand-wash the bottle instead of running it through a dishwasher.
How much does it cost to make your own stickers? About $0.20 per finished sticker on the PixCut S1, based on refill paper at $42.99 for 72 sheets. For an inkjet setup there’s no single number: sticker paper around $0.48 to $0.60 a sheet at Cricut’s prices, then ink, then laminate, then whatever your time is worth.
Can I use a regular printer for stickers? Yes, and it’s the cheapest way to try the hobby. A regular inkjet plus sticker paper, cut by hand or fed to a cutting machine afterward. Anything destined to get wet needs laminating as a separate step.
Is it cheaper to make stickers or buy them online? Small batches, make them. Big batches, order them. The crossover in our analysis landed around 2,200 sheets in a single order, so unless you’re buying at small-business volume, home printing costs less. Sellers can start with our guide to selling stickers online for the pricing side.
Start With the Stickers You’ll Actually Make
The mistake is buying for hypothetical projects, so look at your next month instead. Planner spreads, name labels for school, water bottle stickers, a batch for the fair table? One pass from photo to peeled sticker is exactly what the PixCut S1 does, and it’s the machine we’d put on your desk. A month that honestly contains vinyl decals and custom shirts points at the cutter instead, extra steps included. Price a single finished sticker on whichever route you pick, then stop researching and go print something. 20 creative sticker ideas makes a decent first sheet.

laissez un commentaire
Tous les commentaires sont modérés avant d'être publiés.
Ce site est protégé par hCaptcha, et la Politique de confidentialité et les Conditions de service de hCaptcha s’appliquent.