Best Sticker Printers in 2026: Full Buying Guide
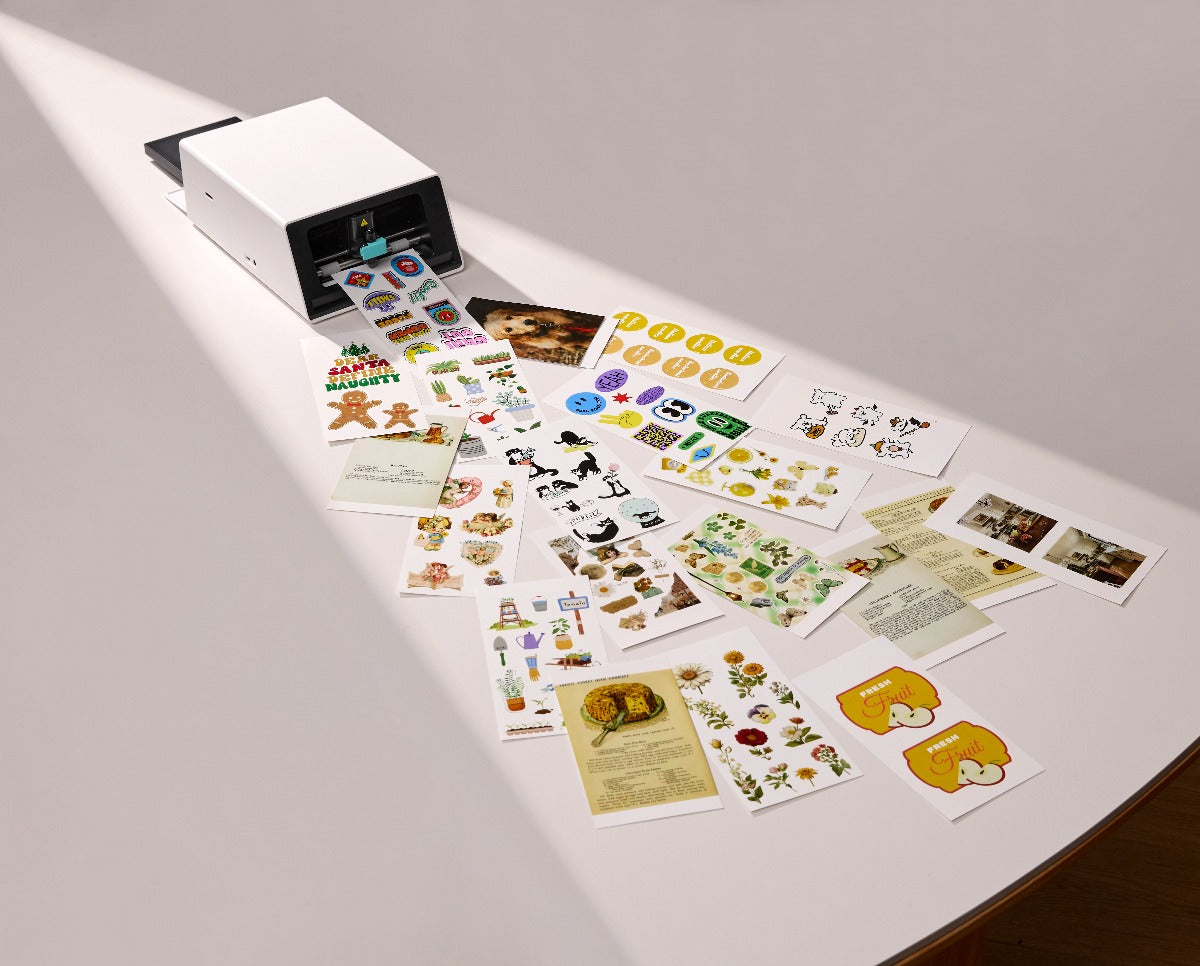
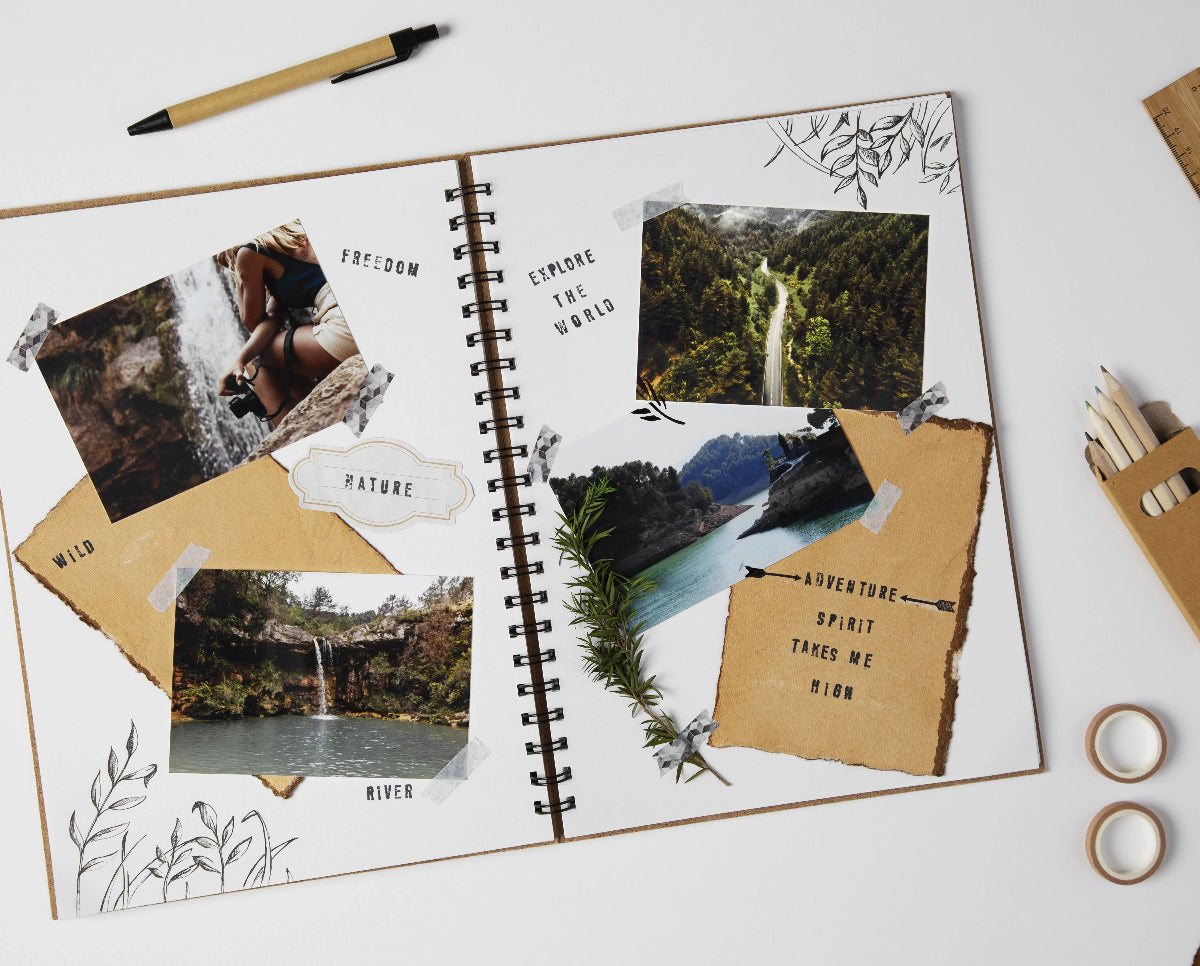
For home users who want custom-shaped, laminated stickers from one device, our pick for the best sticker printer is the Liene PixCut S1, currently starting at $279.99. Choose an inkjet-and-cutter setup for larger sheets and mixed crafting, or a battery-powered Canon SELPHY QX20 for small photo stickers on the go. This guide is published by Liene, the maker of PixCut S1. Recommendations are based on published specifications and suitability for different projects. Quick Picks: Best Sticker Printers by Use Best For Product Printing Cutting App & Cost Approx. Price Best overall for home sticker making and custom-shaped stickers Liene PixCut S1 300 DPI dye-sublimation with protective overcoat, all in the machine Automatic contour kiss-cutting around individual designs Liene Photo app for phone, tablet, Windows and Mac; free From $279.99, Starter Kit All-in-one alternative for Design Space users Cricut StickerPix Print + Cut 300 DPI dye-sublimation with lamination Custom-shape kiss-cutting Design Space required; Cricut Access optional, from $9.99/month in the US €279.99, Essential Bundle, Ireland For sticker businesses needing larger sheets Epson EcoTank ET-2850 + a compatible cutting machine Refillable-tank inkjet; compatible sticker media required Separate cutter required Epson Smart Panel, free; your cutter's software for cutting (Design Space for a Cricut Explore 5) $349.99 printer list price, plus cutter and supplies Best portable photo sticker printer Canon SELPHY QX20 Dye-sublimation on square or card-size adhesive media No automatic cutting SELPHY Photo Layout, free From $189.99 Best photo-first printer with sticker options Canon SELPHY CP1500 Dye-sublimation; standard photos and compatible fixed-format sticker media No automatic cutting SELPHY Photo Layout, free About $179.99, plus sticker media and card-size cassette Best for pre-cut stickers in Design Space Cricut StickerPix Print 300 DPI dye-sublimation with lamination No cutter; uses pre-cut sticker sheets Design Space required; Cricut Access optional, from $9.99/month in the US €179.99, Essential Bundle, Ireland Best budget route if you own a printer Existing color inkjet + compatible sticker paper Depends on your printer and paper Scissors or a paper trimmer Your printer's own software or any design app you already use Sticker paper and finishing supplies only Prices checked October 2, 2026; app and subscription details checked October 8, 2026. US prices are in USD; the two StickerPix prices are Irish listings in euros. Bundles, taxes, availability, and promotions vary. These figures are not a direct price comparison across markets. See current Liene pricing, StickerPix Print + Cut pricing, StickerPix Print pricing, Epson pricing, Canon pricing, and Cricut Access pricing. The PixCut S1 is our overall pick for home sticker making because it prints, finishes, and cuts custom-shaped stickers in one machine. Larger sheets, mixed crafting materials, and battery-powered printing call for different equipment, which is why the alternatives below serve different purposes. Which Sticker Printing Setup Do You Need? Most home sticker setups follow one of three routes: an all-in-one printer and cutter, a printer paired with a separate cutter, or a printer with manual cutting. Pre-cut sticker printers are another option when fixed shapes suit your designs. A Cricut Explore or Maker is a cutting machine and needs a separate printer for printed stickers. Cricut StickerPix is a different product family: both models print, and StickerPix Print + Cut also cuts. Check the complete model name before buying. For a closer look at separate printers and cutters, read Sticker Printer vs Cutting Machine. What to Look For in a Sticker Maker Machine Start with the output you need. A rectangular photo sticker, a mixed planner sheet, and an individually trimmed logo sticker can require different equipment. Cut type and shape. A kiss-cut slices the sticker layer while keeping the backing intact. A die-cut goes through the backing as well. A pre-cut sheet fixes the available shapes before you print. Our die-cut vs. kiss-cut guide explains how those formats affect presentation and peeling. Usable print area. Compare the printable area, rather than just the paper dimensions. Larger sheets may accommodate more designs, but a separate cutter's registration marks also take up space. Finish. A built-in protective coating saves a separate finishing step. For inkjet stickers, durability depends on the ink, compatible media, and any laminate you apply. Test the finished combination before promising customers water resistance. Running cost. Count paper, ink or dye ribbon, finishing materials, and wasted sheets. Divide by the number of usable stickers your layout produces. A per-sheet figure alone cannot tell you the cost of each design. Software and workspace. Check device compatibility, which features require a subscription, and how much room the complete setup needs. Allow space for paper movement as well as the machine itself. Route 1: The All-in-One Sticker Printer and Cutter Liene PixCut S1: Best Overall for Home Sticker Making The PixCut S1 suits people whose main projects are photo stickers, labels, and custom-shaped sticker sheets. It prints, applies a protective overcoat, and kiss-cuts around designs inside one machine, removing the transfer from printer to cutting mat. The Starter Kit currently starts at $279.99 and includes 18 sticker sheets and 18 photo sheets. Sticker paper is 4 × 7 inches; photo paper is 4 × 6 inches. The app provides design tools and background removal for preparing custom outlines. View the PixCut S1. Liene's specifications list 300 × 300 DPI dye-sublimation and a 59-second printing speed. That figure describes printing only. Cutting adds time according to the design, so it is not the total time for a finished, cut sticker sheet. See PixCut S1 specifications. Its main limit is format: this is a desktop sticker and photo system using dedicated media. Choose a separate cutting machine if your projects also require adhesive vinyl, iron-on, or cardstock. Kiss-cut output keeps individual designs on their backing sheet until you are ready to use them. You can peel a sticker for a journal, gift label, or other project while keeping the remaining designs together. Cricut StickerPix Print + Cut: An All-in-One Alternative Cricut StickerPix Print + Cut is a direct alternative for buyers who prefer working in Design Space. It prints, laminates, and cuts custom outlines, with 4 × 7-inch sticker sheets and 4 × 6-inch photo paper. Cricut specifies 300 DPI dye-sublimation and kiss-cut output, leaving the backing intact. The Essential Bundle is listed at €279.99 in Ireland. Design Space is required; Cricut Access is optional, although certain software features and the full content library require payment. Consider the tools you plan to use when comparing ongoing costs. See StickerPix Print + Cut details. This is a sticker-focused machine, separate from Cricut's general-purpose cutters. It offers an integrated workflow for people who want custom-cut stickers within the Cricut software ecosystem. Route 2: An Inkjet Printer Plus a Cutting Machine Epson EcoTank ET-2850: For Businesses That Need Larger Sheets An inkjet-and-cutter setup is worth considering when larger sheets and material choice matter more than keeping everything in one device. The Epson EcoTank ET-2850 uses refillable ink tanks and also handles everyday printing, scanning, and copying. Epson lists the printer at $349.99 before promotions. See Epson ET-2850 product details. It does not cut or laminate stickers. You need inkjet-compatible adhesive media within its feed specifications, plus a cutter for automated shapes and finishing materials where your product requires them. Test the exact paper-and-ink combination before building a product line around it. For cutting, the Cricut Explore 5 supports Print Then Cut and starts at $199 according to Cricut's published pricing. It also handles projects using other compatible crafting materials. That makes the pairing useful for a shop selling stickers alongside cards or vinyl projects. See Explore 5 capabilities and its starting price. The tradeoff is handling: printing, any separate finishing, and cutting happen in distinct stages. Budget for the complete setup, including mats, replacement blades, media, and the time you spend moving sheets between steps. If your business mainly sells small personalized kiss-cut sheets, an all-in-one may be a better fit. Our guide to choosing a sticker printing machine for your small business looks more closely at supplies, workspace, and printing to order. Route 3: An Inkjet and Scissors Best Budget Choice: Use the Printer You Already Own For an occasional gift label or a first sheet of planner stickers, start with a compatible color inkjet, adhesive paper, and scissors. A paper trimmer helps with straight-sided labels. This route lets you test designs without buying another machine. It also reveals whether you enjoy making stickers enough to justify an upgrade. Check your printer's media requirements and choose adhesive paper made for its printing technology. Manual cutting becomes less convenient when designs have detailed outlines or you need many identical pieces. If that becomes the bottleneck, compare a separate cutter with an all-in-one before deciding whether you need a new printer. A craft project can combine printed images, cut-out lettering, and stickers without requiring every element to have a custom machine-cut outline. Best Portable Sticker Printer: Canon SELPHY QX20 The Canon SELPHY QX20 is a practical choice for printing small adhesive-backed photos away from a desk. It weighs about one pound, has a built-in battery, and charges over USB-C. Canon lists it from $189.99. It uses dye-sublimation and supports square and card-size sticker media. There is no cutter, so your photo takes the format of the adhesive sheet. That suits travel journals, scrapbooks, and sharing photo stickers at gatherings. See Canon QX20 specifications. Choose it for battery-powered photo printing when fixed shapes are enough. A compact mains-powered printer can be easy to transport too, but it still needs a suitable power source. Best Photo-First Printer with Sticker Options: Canon SELPHY CP1500 If you mainly want standard photo prints and occasionally want stickers, consider the Canon SELPHY CP1500. Canon's current catalog lists it around $179.99. It prints 4 × 6-inch photos and supports compatible fixed-format sticker media, but cannot cut custom outlines. Budget for the appropriate sticker media and card-size paper cassette separately. The supplied postcard-size cassette does not cover every sticker format. See Canon CP1500 details and compatible accessories. For a household printing albums, gifts, and occasional adhesive photos, that versatility may matter more than custom cutting. For a sticker-focused collection, compare the available sticker formats carefully before choosing it. Cricut StickerPix Print: For Pre-Cut Stickers and Labels StickerPix Print is the lower-priced model in Cricut's sticker printer family, listed at €179.99 for the Essential Bundle in Ireland. It prints and laminates onto pre-cut sticker sheets. It does not cut around your artwork. That makes it suitable for photos and labels in preset shapes. If you want an outline that follows a pet, flower, or illustrated character, look at StickerPix Print + Cut instead. See StickerPix Print pricing and model specifications. Cricut sells dedicated refill sets for each model. The Print and Print + Cut materials are not cross-compatible, so check the full model name when ordering. Read Cricut's material compatibility guidance. What Does a Finished Sticker Cost? For the PixCut S1, the currently listed refill pack costs $42.99 for 72 sticker sheets with two cartridges. That works out to approximately $0.60 per sheet. View the current refill pack. As an illustration, a layout yielding three usable stickers would cost about $0.20 per sticker in refill supplies. A layout yielding six would cost about $0.10 each. Those examples exclude the machine, waste, packaging, and your labor; they are not a fixed cost for every sticker. For inkjet setups, add paper, ink, any laminate, and cutter consumables. For StickerPix, use the price and sheet count of the refill available in your region. Compare refill prices for the same market and calculate the cost per usable sticker. A lower machine price alone does not establish a lower running cost. If you plan to sell stickers, print a sample order before setting your prices. Record the supplies used, any rejected sheets, and the time needed to finish and package the order. That gives you a more useful cost estimate than the printer's purchase price alone. Frequently Asked Questions What is the best sticker printer for beginners? For beginners who want custom-shaped stickers with fewer handling steps, our recommendation is the PixCut S1. If you already own a compatible inkjet and want to try simple labels first, adhesive paper and manual cutting are the cheaper starting point. Does every sticker printer cut stickers? No. PixCut S1 and Cricut StickerPix Print + Cut include automatic cutting. StickerPix Print and the Canon SELPHY models discussed here print onto adhesive media without cutting custom outlines. Can a Cricut print stickers? The answer depends on the model. Cricut Explore and Maker machines cut and need a separate printer for printed stickers. Cricut StickerPix Print prints and laminates; StickerPix Print + Cut prints, laminates, and cuts. Which sticker maker machine is best for a small business? Match it to your product format. A larger-sheet inkjet-and-cutter setup suits businesses needing varied media and mixed crafting. A desktop all-in-one suits small personalized kiss-cut sheets. Price a sample order using your actual layout, waste, and handling time before buying. Are home-printed stickers waterproof? Durability depends on the complete printing system. Liene describes PixCut S1 stickers as waterproof; Cricut describes StickerPix prints as water-resistant. Inkjet results vary with ink, media, and finishing. Those claims do not automatically establish dishwasher safety or suitability for prolonged outdoor use. See Liene product information and Cricut finish information. Can these machines produce individually die-cut stickers? StickerPix Print + Cut specifies kiss-cutting, and the PixCut S1 recommendation here is for kiss-cut sheets. If your product needs the backing cut into separate shapes as well, choose equipment and media that explicitly support that output. How fast does the PixCut S1 print? Liene lists a printing speed of 59 seconds. This is a printing specification, not the total time for design preparation, printing, and cutting. See official specifications. Choose the Printer for the Stickers You Plan to Make Start with one representative design: its dimensions, intended shape, finish, and quantity. Use that project to compare the finished output and the supplies each setup needs. For custom-shaped home stickers from one device, the PixCut S1 brings printing, protective finishing, and contour cutting into one desktop setup. Explore the Liene PixCut S1 and available bundles. If your priority is larger sheets, mixed crafting, or battery-powered photo printing, compare the alternatives above against those requirements. The right printer is the one that produces the stickers you want in a format you can use.