


Hey there, sticker lovers and scrapbook enthusiasts! Are you tired of the same old stickers from the store? Craving that personal touch in your scrapbook that screams 'you'? Well, you're in luck! Today, we're exploring 5 creative ways to DIY your way into making scrapbook stickers that not only add a pop of personality to your pages but also make your scrapbook uniquely yours. From crafting household items to getting tech-savvy, we've got a lineup that'll spark your creativity and perhaps even kickstart a new hobby. So, grab your scissors, fire up that printer, and let's get sticky!

1. Customized stickers from professional printing services
Need high-quality, custom scrapbook stickers fast? Professional printing services are your go-to solution! With just a click, transform your designs into polished stickers through local shops or online platforms—effortlessly blending speed with sophistication.
- Design Your Heart Out: First up, let your creativity flow by designing your stickers. You can use design software or even simpler online tools provided by many printing services. Whether it's heartfelt quotes, your own artwork, or photographs, make sure your design reflects the vibe of your scrapbook.
- Choose Your Service: Do a bit of research to find a printing service that suits your needs. Online platforms often offer a wide range of materials, finishes, and sizes. Look for services that allow you to order in small quantities if you're not looking to bulk-buy.
- Quality and Quirks:When selecting a service, consider the quality of the print and the sticker material. Some services offer waterproof, vinyl, or even holographic stickers, adding that extra zing to your scrapbook. Don't forget to check reviews or ask for samples if you're unsure.
- Order and Organize:Once you're happy with your design and have chosen your printer, place your order. When your stickers arrive, it’s just a matter of peeling and sticking them onto your scrapbook pages, organizing them in a way that tells your story.
Opting for a professional service to print your customized scrapbook stickers not only saves you time but also ensures your scrapbook has that polished, durable touch. It’s an excellent option for those special projects where you want every detail to be perfect, or if you're planning to gift the scrapbook to someone special.

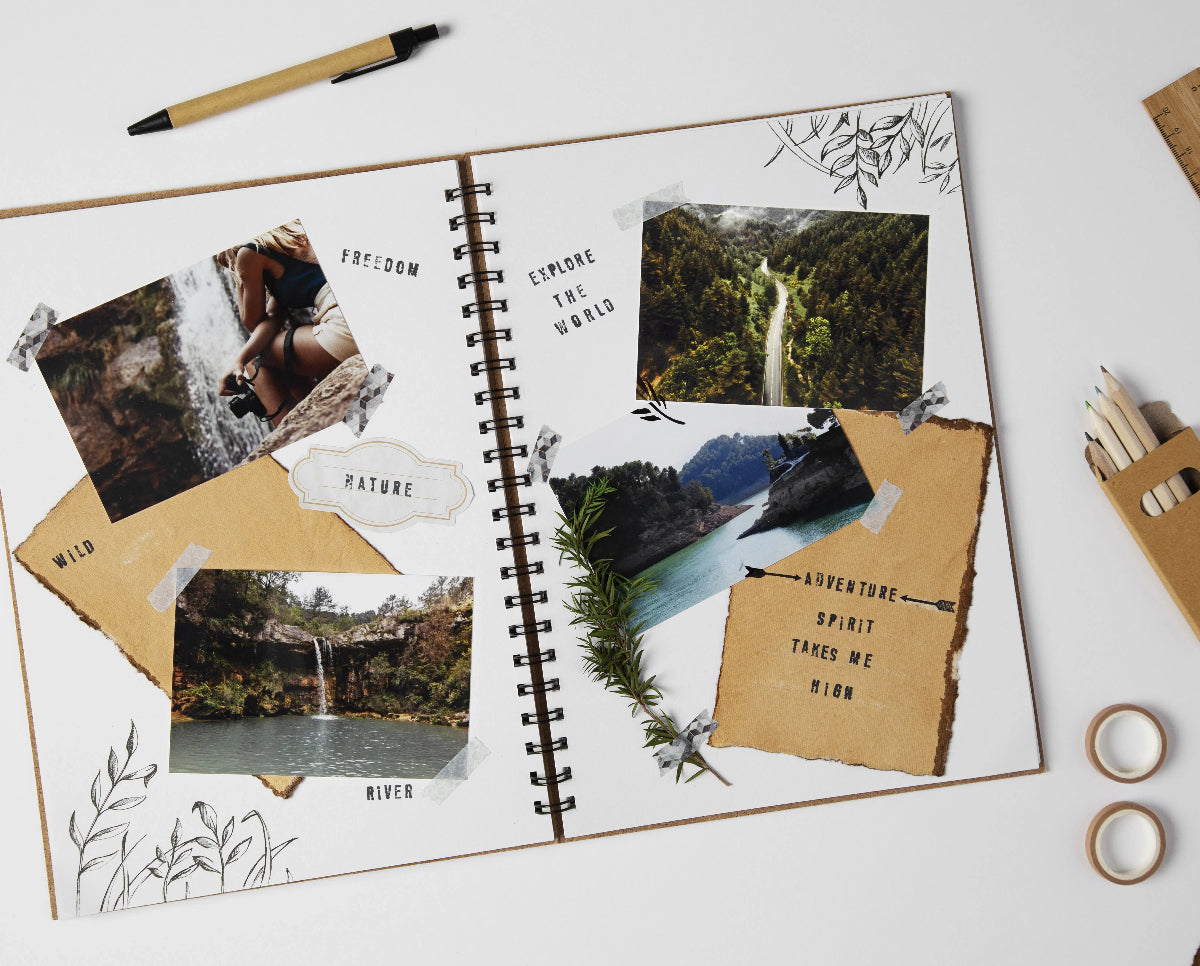
2. Crafting stickers with washi tape
Washi tape isn't just for borders or frames; it’s your new best friend for making quick, easy, and decorative stickers. Here’s how to create your own washi tape stickers in a few simple steps:
- Choose Your Washi Tapes:Pick washi tapes with colors and patterns that match your scrapbook’s theme. The variety of designs available means you can get really creative here.
- Stick on Wax Paper: Lay down strips of washi tape side by side on a piece of wax paper. Overlapping the edges slightly ensures you can cut out stickers of any shape without them falling apart.
- Design Your Stickers: Once you have a section of wax paper covered in washi tape, use cookie cutters, stencils, or freehand sketches with a pen to create designs on the tape-covered surface.
- Cut and Peel: Using sharp scissors or a craft knife, carefully cut out your designs. Thanks to the wax paper, your new washi tape stickers will peel off easily, ready to be placed in your scrapbook.
- Apply to Your Scrapbook:Peel your washi tape stickers from the wax paper and stick them directly onto your scrapbook pages. They’re great for adding colorful accents, borders, or even thematic decorations.
This method turns washi tape into versatile, decorative scrapbook stickers without needing any special materials or tools beyond what you might already have at home. It’s perfect for adding a splash of color and pattern to your pages with minimal effort and maximum creativity.

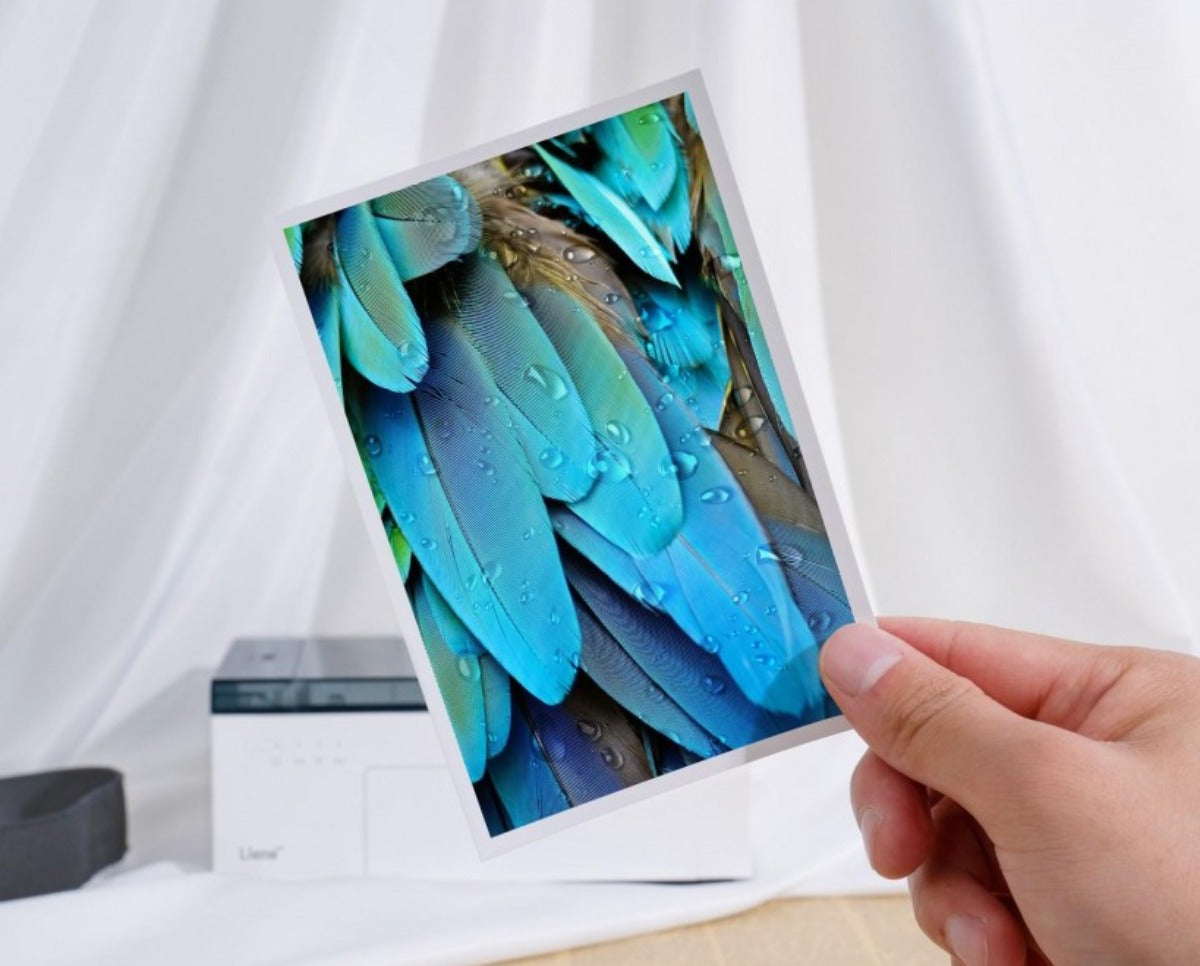
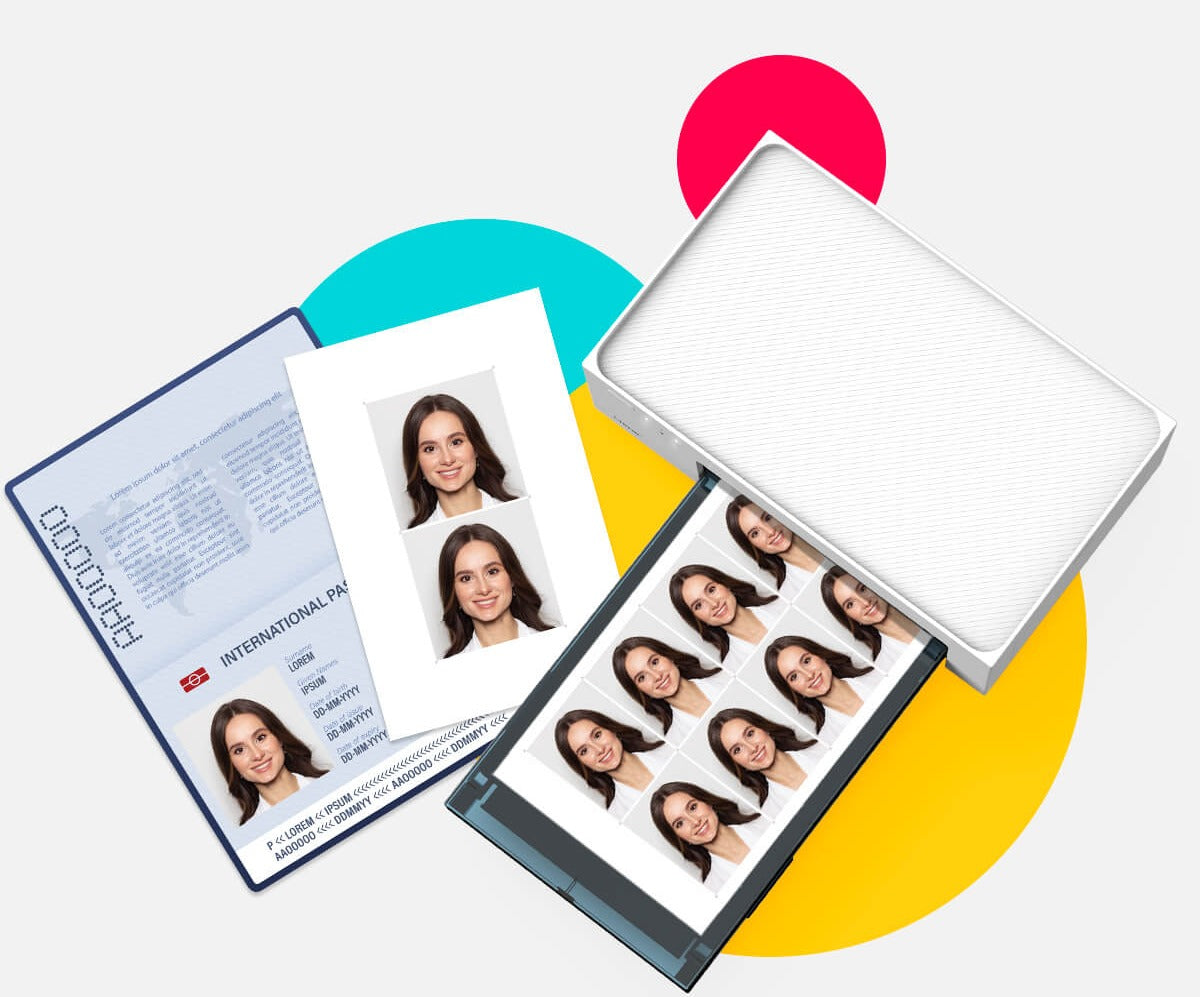
3. Print your photos with a sticky back: the portable photo printer revolution
Transforming cherished photos into personalized scrapbook stickers has become not just a creative endeavor but a highly accessible one, thanks to the innovation of portable photo printers like Liene Pearl. This evolution bridges the digital with the physical in memory keeping, offering unique advantages that enhance the scrapbooking experience.
- Select and Edit on Your Device: Start by choosing photos on your mobile device, leveraging the convenience of editing them on-the-go through a dedicated app. This means you can fine-tune images, add text, or apply filters before printing, ensuring each photo perfectly captures the memory it represents.
- Print Anywhere, Anytime: With the portability of devices like Liene Pearl, you can bring your printer to family gatherings, outdoor adventures, or keep it by your side at home for spontaneous printing sessions. This freedom significantly enhances the scrapbooking process, allowing for immediate printing without waiting.
- Cost-Effective without Compromising Quality:These portable printers produce vibrant, high-quality stickers at a lower cost compared to traditional printing services. The use of sticky-backed photo paper ensures each print is not only affordable but also durable and ready to be placed in your scrapbook.
- Durable, Easy-to-Use Stickers:The sticky-backed photo paper used is designed for ease and durability. Once printed, the photo stickers can be easily placed in your scrapbook, where they will remain securely fixed, preserving your memories beautifully over time.
This approach is perfect for those who want to incorporate the immediacy of their digital photos with the tactile joy of scrapbooking. Portable photo printers, such as Liene Pearl Printer, are game-changers for crafters and scrapbookers alike, offering a fun and innovative way to customize your memory books.

4. Crafting wax seal stickers: a touch of timeless elegance
Wax seal stickers offer a unique blend of old-world charm and modern craftiness, perfect for adding a distinguished flair to your scrapbook pages. Here's how you can create these captivating embellishments:
- Gather Your Materials: You'll need a wax seal stamp, sealing wax sticks (available in a myriad of colors), parchment paper, and a low-heat glue gun or a wax melting spoon.
- Melting the Wax: If you're using a glue gun, insert your sealing wax stick into the gun. For the melting spoon method, hold the spoon above a candle or a small flame and add pieces of your sealing wax until it melts.
- Crafting the Seal:Pour the molten wax onto parchment paper, shaping it into neat circles. While the wax is still warm, firmly press your seal stamp into it, then wait for it to cool and solidify. This process results in an elegant, embossed effect.
- Transforming into Stickers: After the wax seals have set, gently remove them from the parchment. Attach an adhesive dot or a piece of double-sided tape to the back of each seal, instantly converting them into unique stickers.
- Apply to Your Scrapbook: Now, the fun part—place your wax seal stickers onto your scrapbook pages. They're perfect for adding a sophisticated touch to titles, borders, or as standalone decorations that catch the eye.
Wax seal stickers bring an unparalleled level of sophistication and beauty to your scrapbooking project, merging the allure of historical correspondence with contemporary crafting. Whether you're aiming for a classic, romantic, or even a fantasy-themed scrapbook, these stickers will undoubtedly elevate your pages.

5. Turning everyday items into one-of-a-kind stickers
Who knew that everyday household items could become the stars of your scrapbook? This DIY adventure transforms the ordinary into extraordinary, making sticker creation not just easy, but incredibly personal and unique.
- Scout Your Supplies:Begin your treasure hunt at home—look for anything with a sticky back. Think labels, tape, and even old postage stamps. Got an old magazine or book with interesting images or text? Those work great too!
- Customize with Creativity: Now, let's get those creative juices flowing. Got a label? Turn it into a name tag for your scrapbook page. An old postage stamp? Perfect for adding a vintage touch. Magazine cut-outs can be turned into quirky stickers by sticking them onto adhesive sheets or using double-sided tape.
- Cut, Peel, Stick: Once you've decided on your items and customized them, it's time to make them scrapbook-ready. If you're using non-sticky items, adhere them to a sticky surface or apply a glue stick to make them adhesive. Then, cut them into your desired shapes, peel if necessary, and stick them onto your pages.
- Mix and Match:The beauty of using household items is the endless mix-and-match possibilities. Combine textures, colors, and sizes to create layouts that pop. Your scrapbook will not only tell your story but also showcase your creativity and resourcefulness.
This method does more than just reuse and repurpose existing materials—it adds a personal touch and an element of surprise to your scrapbook. It's an excellent strategy for giving your pages a distinct flair, mirroring a mosaic of your life's small yet significant moments through the materials that symbolize them.

Final thoughts
Embrace the art of creating scrapbook stickers to personalize your memories uniquely. From professional prints to enchanting wax seals, each approach invites you to showcase your creativity. Remember, a scrapbook isn't just an archive of moments; it's a vibrant canvas awaiting your imaginative touch. So, gather your materials and let your creativity soar. Happy crafting!
Leave a comment
All comments are moderated before being published.
This site is protected by hCaptcha and the hCaptcha Privacy Policy and Terms of Service apply.