


There’s something magical about opening your planner and seeing it filled with vibrant, playful stickers. They add personality to your pages, make everyday tasks feel a little more exciting, and help you stay on top of your schedule without it feeling like a chore. Whether you love cute illustrations, minimalist icons, or seasonal themes, stickers can transform a plain layout into something you look forward to using every day.
In this blog, you’ll find plenty of fresh ideas to inspire your own planner stickers and a clear, step-by-step guide to creating them at home. By the end, you’ll have both the creativity and the know‑how to make stickers that are as unique as your planning style.
Cute & Practical Ideas for Planner Stickers
• Seasonal Stickers (Spring, Summer, Autumn, Winter): Bring the changing seasons into your planner with fresh colors and designs. Think floral pastels for spring, bright fruits for summer, cozy leaves for autumn, and snowy scenes for winter.
• Holiday Stickers (Christmas, Valentine’s Day, Halloween, etc.): Add festive cheer to your pages with holiday-themed stickers. They’re perfect for marking special events or simply getting into the seasonal spirit.
• Habit Tracker Stickers (Daily Goals, Exercise, Hydration Reminders): Keep your goals on track with dedicated stickers for tracking habits. Whether it’s ticking off your daily workout or making sure you drink enough water, they make staying consistent more fun.
• Work & Planning Stickers (To-Dos, Meetings, Priorities): Boost your productivity with stickers that help you organize tasks, schedule meetings, and highlight your top priorities at a glance.
• Motivational Quote Stickers (Daily Inspiration): Sprinkle uplifting quotes throughout your planner. A short positive phrase can be the little push you need to stay motivated all week.
• Functional Stickers (Arrows, Labels, Calendar Markers): Use simple icons and markers to highlight important dates, draw attention to deadlines, or neatly categorize your notes.
Tools & Materials You’ll Need
Before you start creating your own planner stickers, gather the essentials so your process is smooth and enjoyable.
Computer or Tablet + Design Software: A laptop or tablet with creative tools such as Canva, Photoshop, or Procreate will give you the flexibility to design exactly what you imagine.
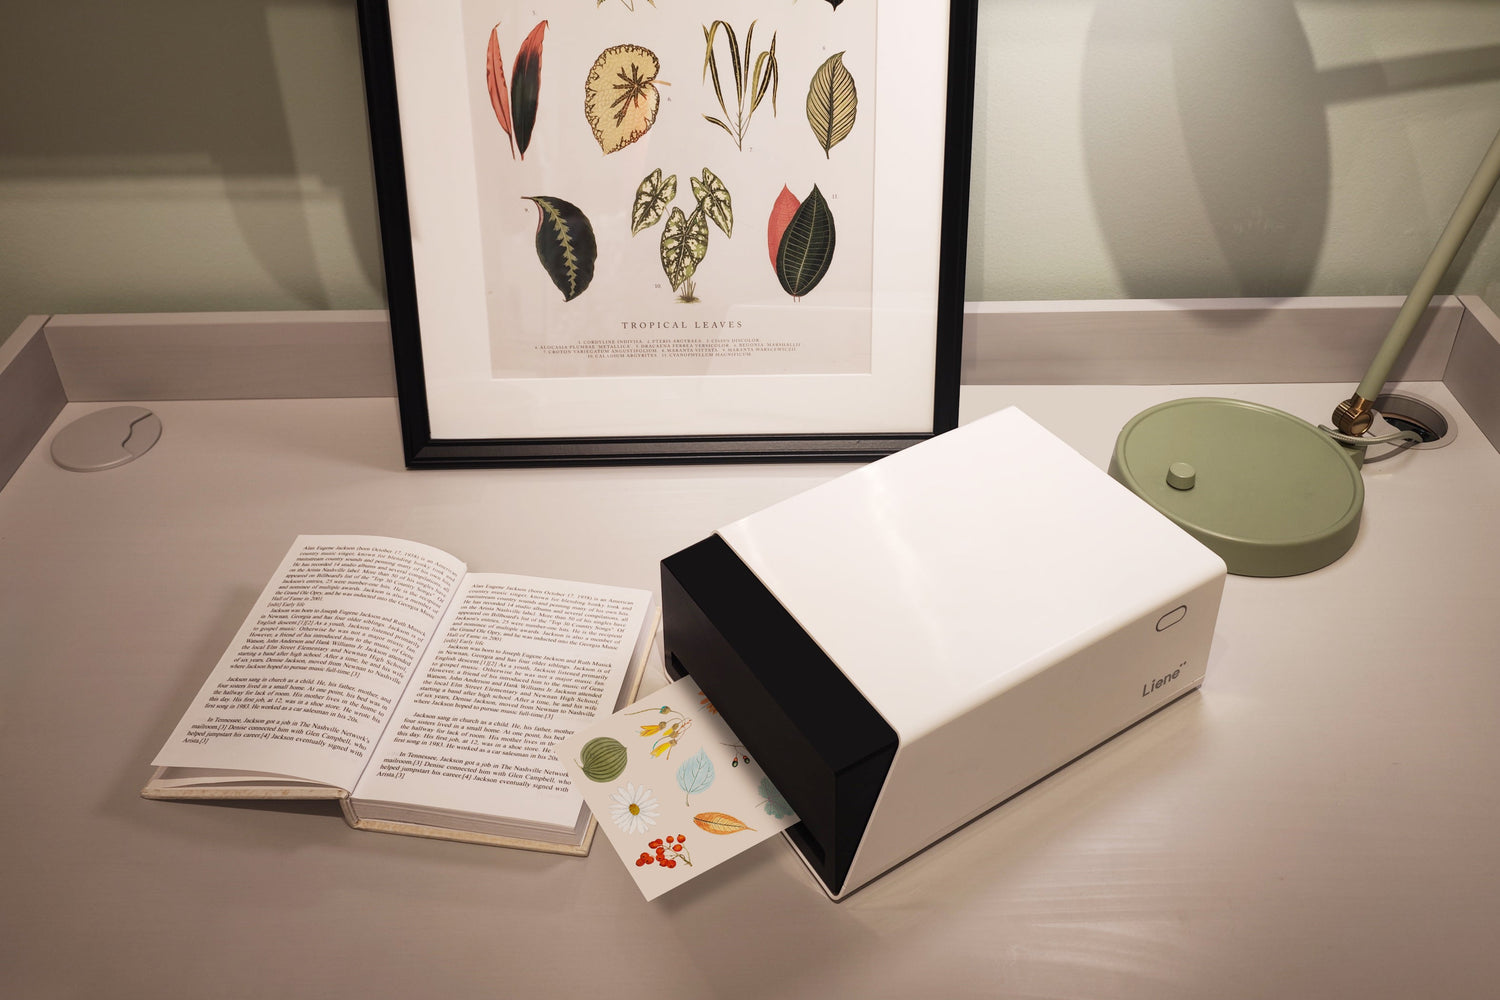
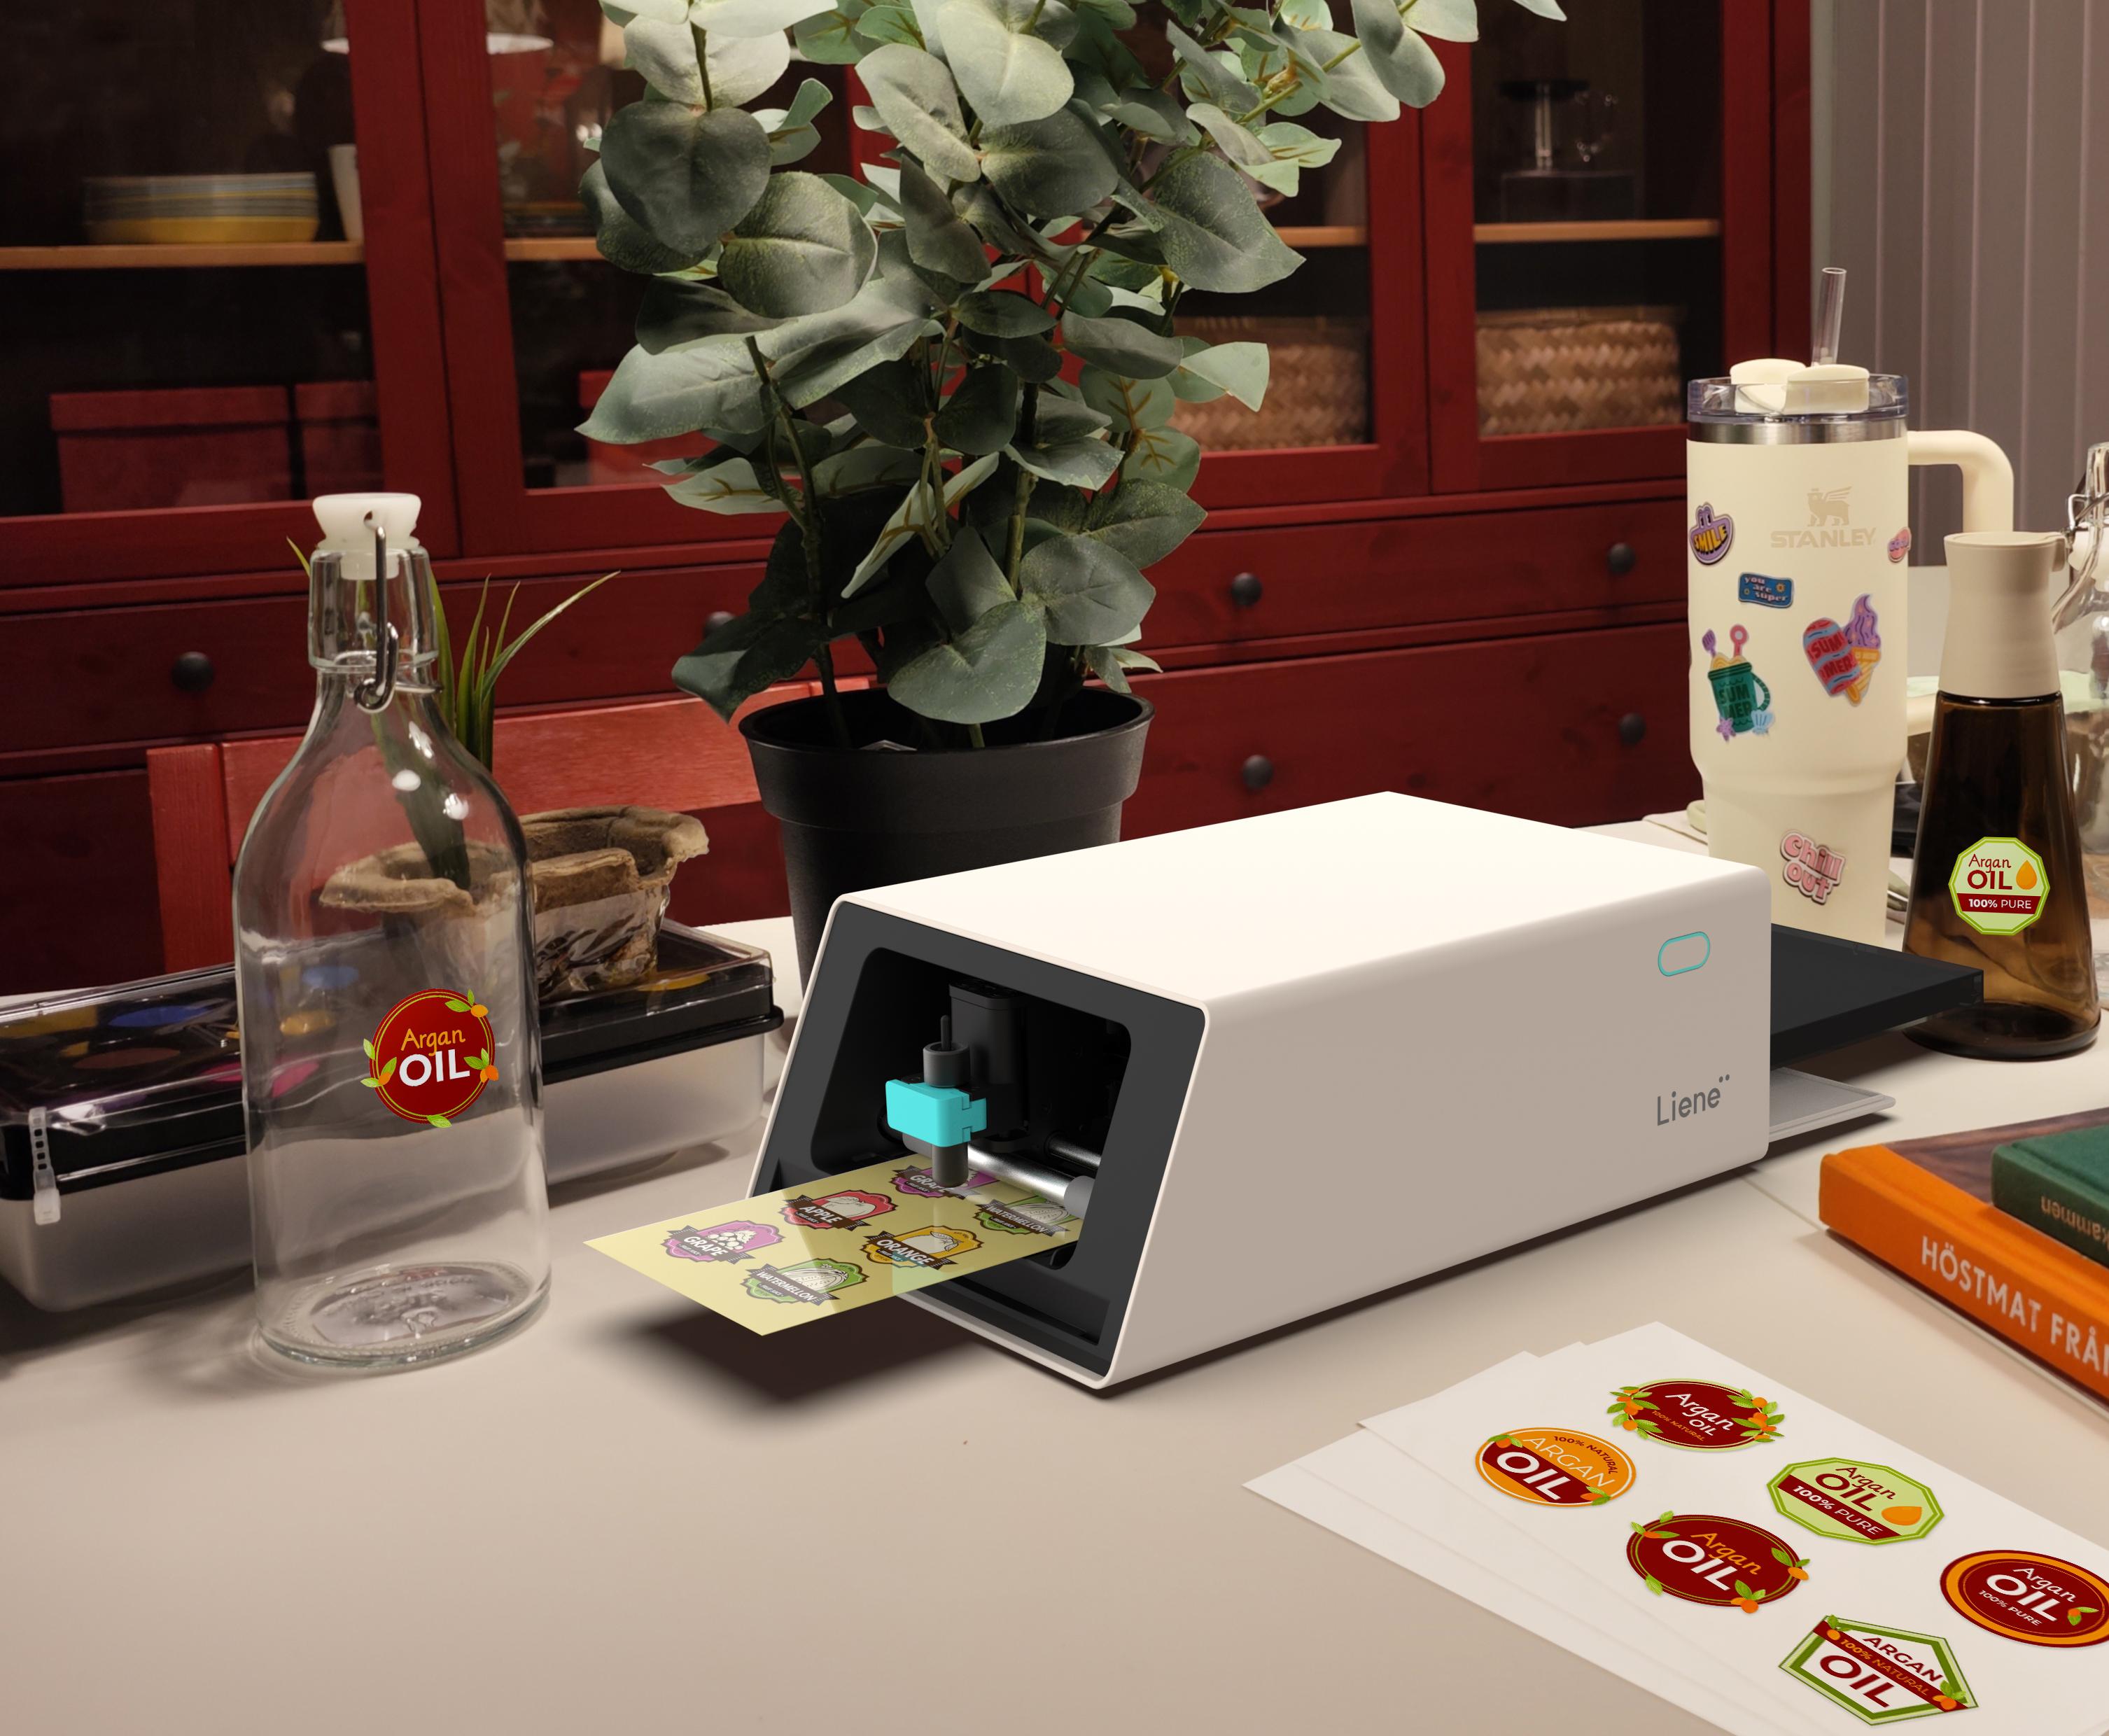
Printer: A good printer makes all the difference when it comes to crisp colors and sharp details. Many planner lovers enjoy using an all-in-one device that can print and cut stickers automatically, like the PixCut S1 Photo Sticker Printer and Cutter, which handles both steps in one go.
Sticker Paper or Photo Paper: You can choose between regular sticker sheets for everyday use or enhanced-adhesion options if you want your designs to stay in place longer. Both types, along with other materials, can be found in the PixCut S1 Machine & Materials Collection.
Scissors or Cutting Machine: If you prefer a hands-on approach, a pair of scissors will do. But if you’re using a machine with a built-in cutting feature, you can skip the trimming entirely.
Step-by-Step Guide: Make Your Own Planner Stickers with PixCut S1
Once you’ve got your tools ready, turning your ideas into beautiful stickers is quick and straightforward. In just four simple steps, you can go from a blank design to perfectly cut stickers ready to brighten up your planner.
Step 1: Prepare the Machine
Install the ink ribbon cartridge and load the official 4×7" Liene PET sticker paper into the cassette. The PixCut S1 automatically feeds and aligns the paper so you can start right away without manual adjustments. Transparent and metallic sticker paper options will also be available in the near future.
Step 2: Design Your Stickers
Open the Liene Photo app on your phone or tablet and upload your designs in PNG or JPG format. Whether you want seasonal themes, habit trackers or motivational quotes, the app’s background removal and auto cut line tools help you set up your layout quickly.
Step 3: Select Kiss‑Cut Mode
When your design is ready, tap “Make It” in the app to preview. Select the True Kiss‑Cut mode which cuts only through the sticker layer while leaving the backing sheet intact. This makes it perfect for planner stickers that peel cleanly.
Step 4: Print, Laminate and Cut
Send your design to the PixCut S1. It prints in high resolution using thermal dye-sublimation, automatically laminates the surface for durability and precisely kiss-cuts each sticker.
Easy Tips to Store & Organize Your Stickers
Keeping stickers organized makes them easier to use. Try these simple tips:
Use a Sticker Album or Folder: Clear pocket pages protect your stickers from dust and creases while keeping everything easy to flip through.
Sort by Theme, Color, or Function: Group seasonal, holiday, and functional stickers separately so you can find exactly what you need in seconds.
Keep a Small Pouch for Everyday Use: Store your most-used stickers in a portable pouch so you can decorate your planner anytime, anywhere.
Store in a Cool, Dry Place: Avoid direct sunlight and humidity to prevent fading and loss of stickiness.
Stick Leftovers Back on the Backing Sheet: Keep half-used sheets flat and organized by putting the remaining stickers back onto their original backing.
Bring Your Planner to Life
From seasonal designs to habit trackers, planner stickers bring creativity and organization together in the most delightful way. With the PixCut S1 Photo Sticker Printer and Cutter, you can turn your ideas into professional‑quality stickers in minutes, right from home. Now is the perfect time to start creating stickers that reflect your personality and make planning a joy. Get your PixCut S1 today and see where your imagination takes you.
FAQs
Can I make professional quality planner stickers at home without special skills?
Yes, you can. With the right tools such as the PixCut S1, it is possible to design, print, laminate and cut stickers in one compact device. The Liene Photo app also provides background removal and auto cut line functions, making the process simple even for beginners.
What type of paper should I use for planner stickers?
The best choice is high quality sticker paper that matches your printer. The official 4×7 inch Liene sticker paper works seamlessly with the PixCut S1, giving you vibrant colors, strong adhesion and a clean peel every time.
How can I make my planner stickers last longer?
Select laminated sticker paper for extra durability and store your stickers in a cool, dry place away from direct sunlight. The PixCut S1 prints in high resolution while adding a protective lamination layer, so your stickers resist smudging, scratching and fading for year round use.
Leave a comment
This site is protected by hCaptcha and the hCaptcha Privacy Policy and Terms of Service apply.