
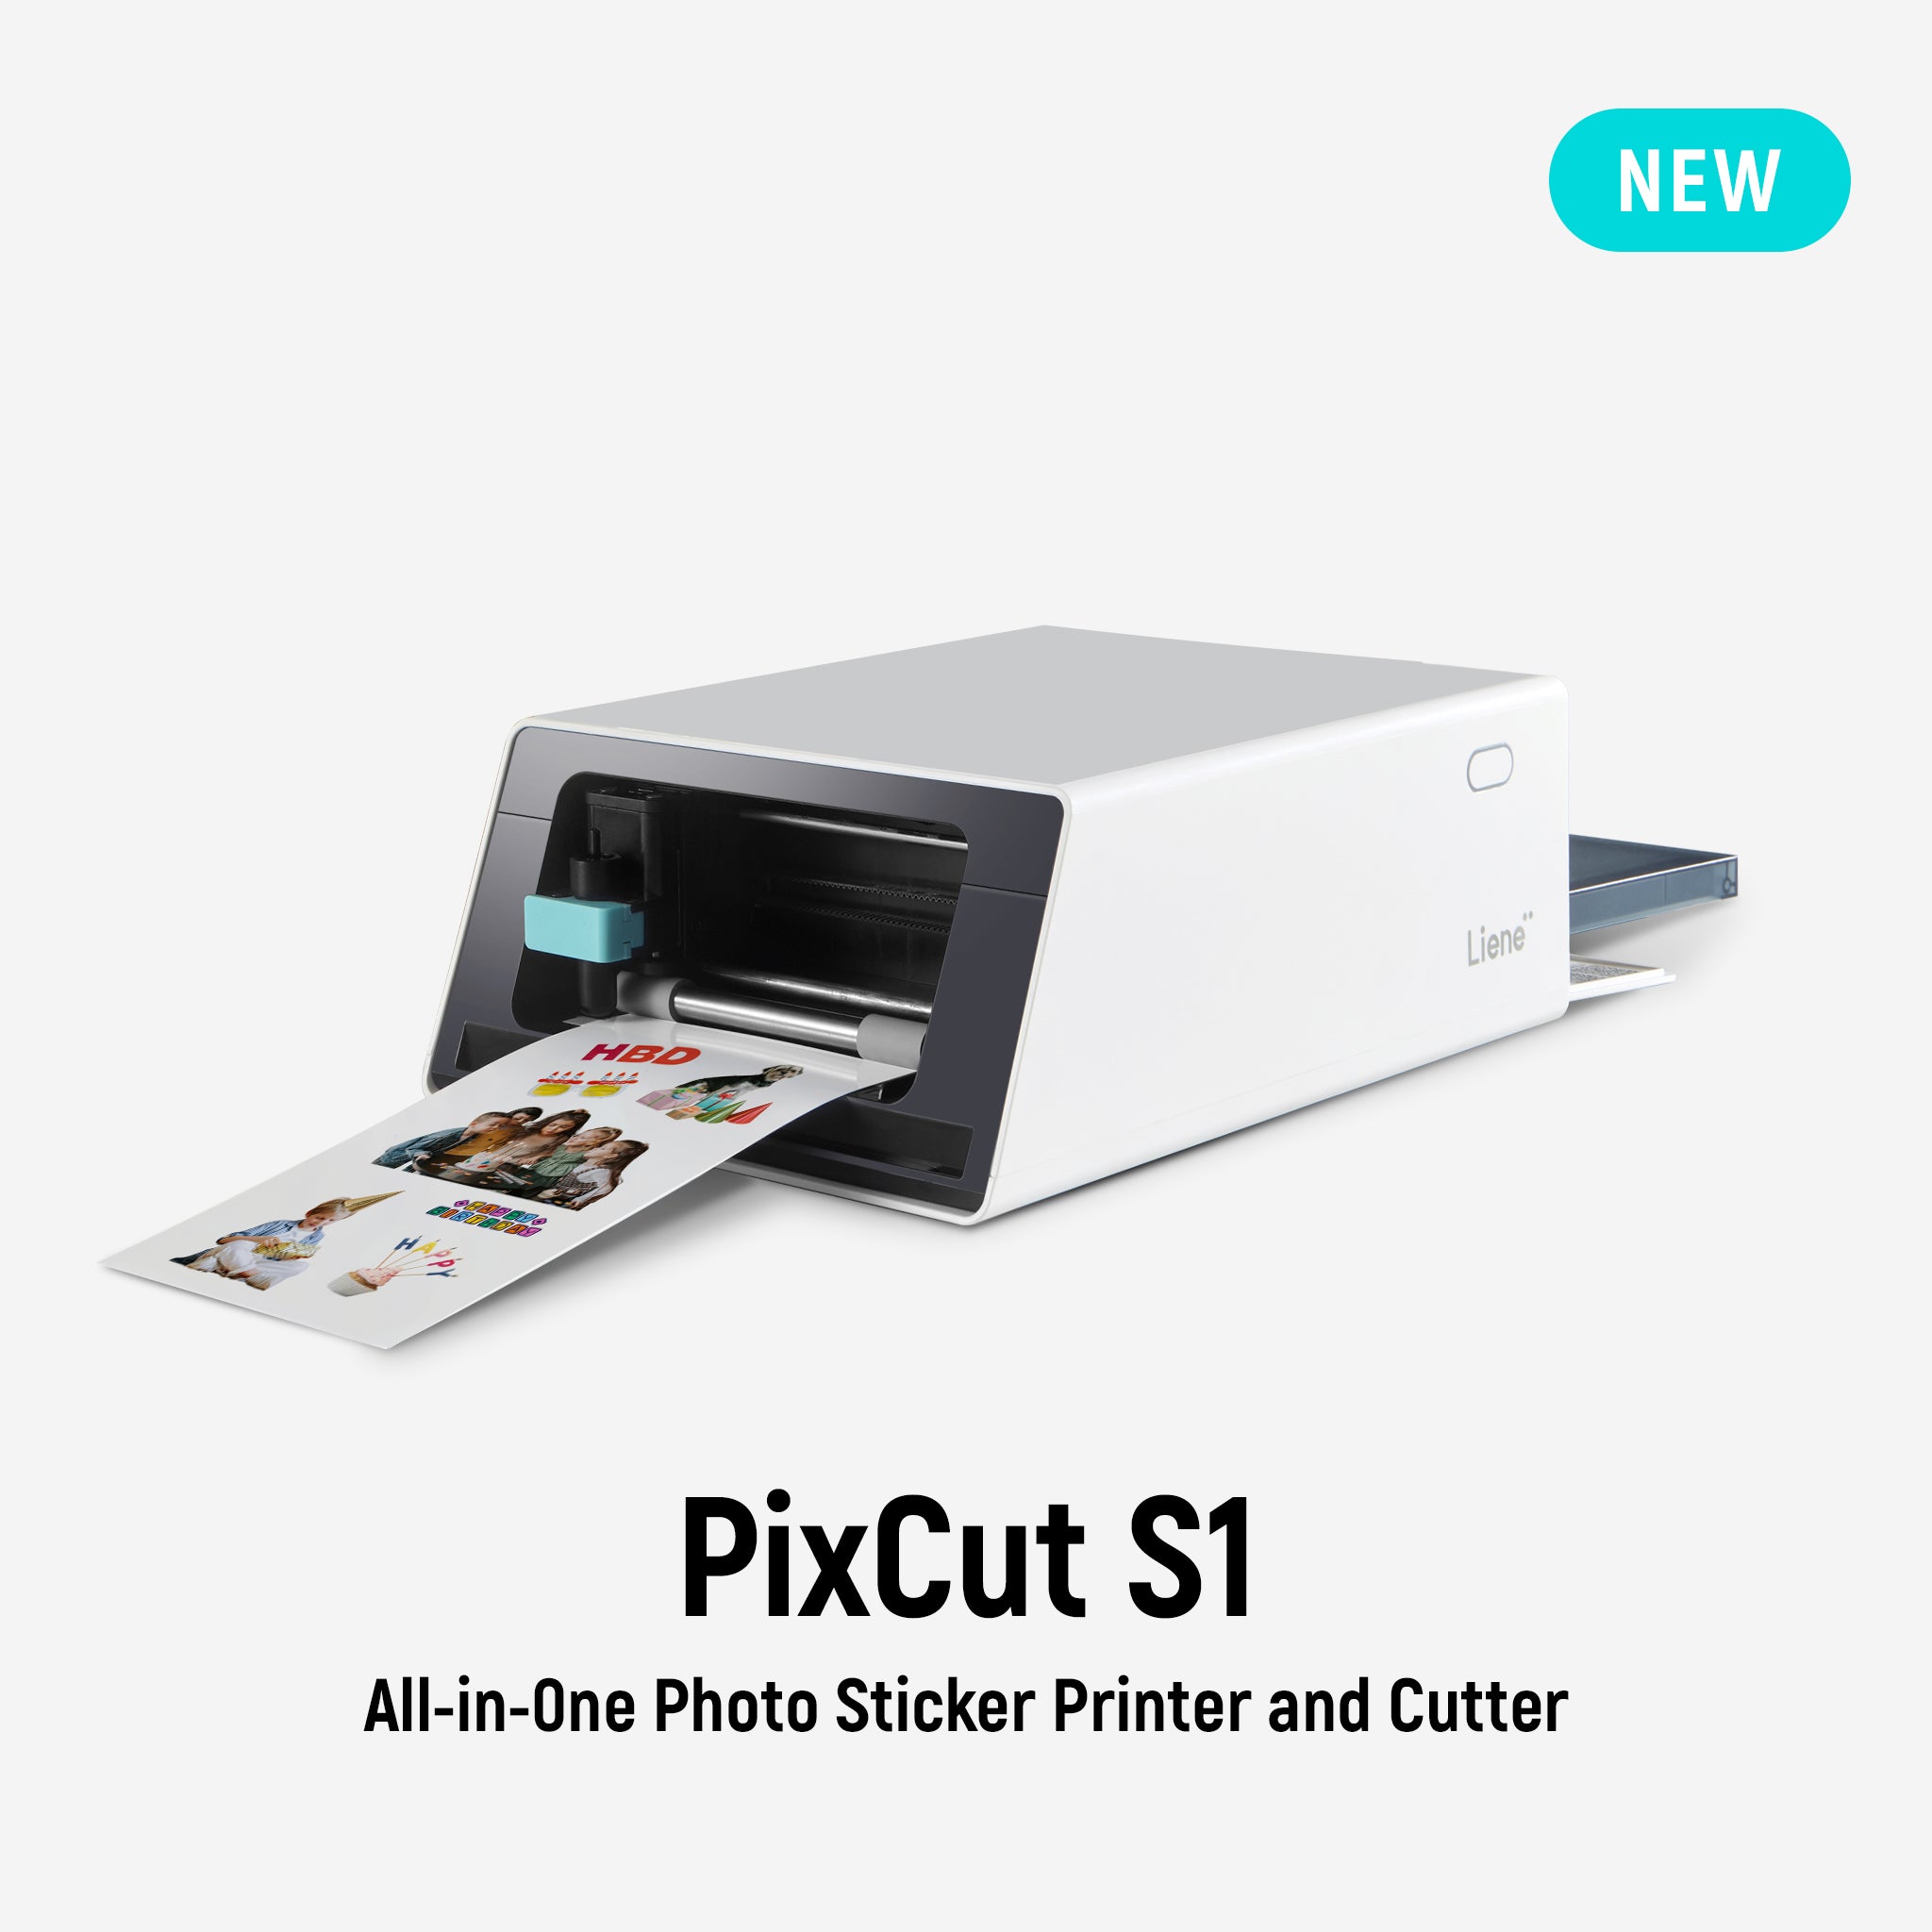
Want to add unique flair to your sticker designs? The Shape Tool in the Liene Photo App lets you customize your creations with ease. Paired with your PixCut S1 printer and cutter, you can create one-of-a-kind stickers with precise cuts and colorful designs.
1. Selecting a Shape:
Begin by selecting any shape from the Shapes library. Simply tap on the shape, and you'll notice a blue frame will appear around it, indicating that the shape has been selected. Feel free to choose as many shapes as you like from the Shapes library and add them to your canvas.
2. Resizing the Shape:
To resize the shape, simply drag the corner of the blue frame. Typically, you will want to drag the bottom-right corner to scale your shape to the desired size. Hold your finger on the corner and drag it outward or inward to resize the shape. This allows you to adjust the shape’s size to fit your design.
3. Adding Color:
Next, let's add some vibrancy to your shape! Tap on the ""Color"" option. Choose your preferred hue to fill the shape with color. It’s that simple to bring your design to life and make it pop with color.
Color: Fill the interior of your shape with a color of your choice. This is a quick and easy way to add vibrancy to your design.
4. Adjusting the Border:
To enhance the outline of your shape, tap on ""Border."" This allows you to customize the thickness and color of the shape's border. Adjust it to suit your personal style and give your shape more definition.
Border: Fine-tune the border’s thickness and color to match the look and feel of your design. This feature adds a sleek finish to your shapes.
5. Using Image Fill:
Want to get creative with your shapes? Use the ""Image Fill"" feature to insert a picture directly into the shape from your album. This opens up endless possibilities for customization.
Image Fill: Tap on ""Image Fill"" to insert a photo or image from your gallery into the shape. You can also use the ""AI remove bg"" feature to automatically remove the background of the image (as shown below). This gives you flexibility in how you customize the shape's appearance.
6. Flipping the Shape:
Need a different perspective on your design? Tap ""Flip"" to instantly mirror the shape. This allows you to view and use your shape from a flipped perspective without having to manually adjust its position.
Flip: This feature instantly mirrors the shape along its vertical or horizontal axis, giving your design a new angle or perspective.
7. Adjusting the Position:
To refine the layout of your design, use the ""Position"" option to adjust where your shape sits on the canvas. Move the shape around to get the perfect placement in your design.
Position: You can move your shape left, right, up, or down on the canvas to ensure it’s in the ideal spot. This feature helps you perfect the alignment and overall design composition.
8. Advanced Settings:
For more precise control, explore the ""Advanced"" settings. Here, you can adjust the shape's size, position, and even rotate it to the exact angle you need. This feature gives you full control over the finer details of your design.
Advanced: With Advanced, you can manually adjust the size, location, and rotation angle of the shape. This gives you precise control to ensure everything aligns perfectly on your canvas.
Conclusion:
With these simple steps, you can easily customize shapes, add colors, images, and borders, and fine-tune your design with the help of features like Flip, Position, and Advanced settings. These tools provide you with complete control over your design, making it easy to create professional-quality stickers, labels, and more with Liene PixCut S1. Happy designing!

Leave a comment
This site is protected by hCaptcha and the hCaptcha Privacy Policy and Terms of Service apply.