


Keeping a pantry organized can feel like a never-ending battle. When shelves are cluttered it often leads to forgotten items, duplicate purchases, and wasted food. The good news is that a smart labeling system can completely transform the way you use your kitchen. Labels do more than identify what is inside a jar or bin. They make ingredients easier to find, streamline meal prep, and add a stylish touch to your shelves. In this guide you will discover practical pantry labeling ideas such as clear container stickers, color-coded systems, and expiration tags that will help you create a pantry that looks good and works even better.

1. Start Fresh: Declutter and Categorize First
Begin by taking everything out of your pantry so you can see exactly what you have. This step may feel overwhelming at first, but it gives you a clean slate to work with. Check each item carefully and decide whether to keep it, donate it, or throw it away if it is expired.
Once you have only the items you want to keep, group them into clear categories such as baking supplies, snacks, grains, or canned goods. Creating these categories now will make labeling much easier later. It also helps you spot duplicates, avoid unnecessary purchases, and keep track of what you actually use.
Tip: Put a small basket near the pantry for items to donate. It makes decluttering less of a chore and keeps the process moving.
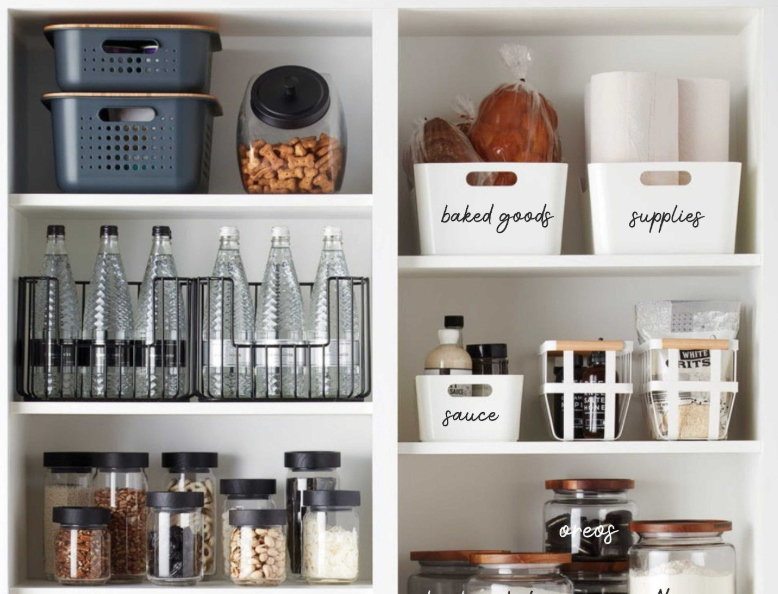
2. Clear Containers + Clear Labels
Transparent containers instantly make a pantry look more organized and help you see when supplies are running low. Pairing these containers with clear, custom stickers makes it easy to identify contents at a glance.
For everyday staples like rice, pasta, sugar, and flour, use large, bold text labels so anyone in the household can find what they need quickly. To make your system even more useful, add simple measurement conversions directly on the label. For example:
• Flour jar: ½ cup = 80 grams
• Sugar jar: 1 cup = 200 grams
These small details save time during cooking and reduce guesswork. Clear containers combined with clear labels give your pantry a clean, uniform look while making it highly functional.
Tip: If you want your shelves to look magazine-worthy, stick to one container style. Matching jars plus neat labels instantly elevate the look.
3. Expiration Date Stickers
Date labels are one of the easiest ways to keep food fresh and avoid waste. Place a small sticker on each item as soon as it goes into the pantry and note either the purchase date or the expiration date. This simple habit helps you see which products need to be used first and makes stock rotation effortless.
For even better results, try a color system. Red can mark items that should be used soon, green can show what is fresh, and yellow can indicate new stock. With this method, a quick glance at the shelf tells you exactly what to cook with first. It saves money, reduces clutter, and ensures the pantry always holds food that is safe to eat.
4. Color-Coded Labeling System
A color-coded system makes your pantry intuitive and easy to use, especially for busy families. Assign one color to each category so ingredients are instantly recognizable without having to read every label. For instance:
• Blue for baking supplies
• Green for snacks
• Red for spices
• Yellow for canned goods
Once the system is established, anyone in the household can find and return items quickly. It cuts down on searching time, keeps shelves neat, and makes the pantry user-friendly for all ages.
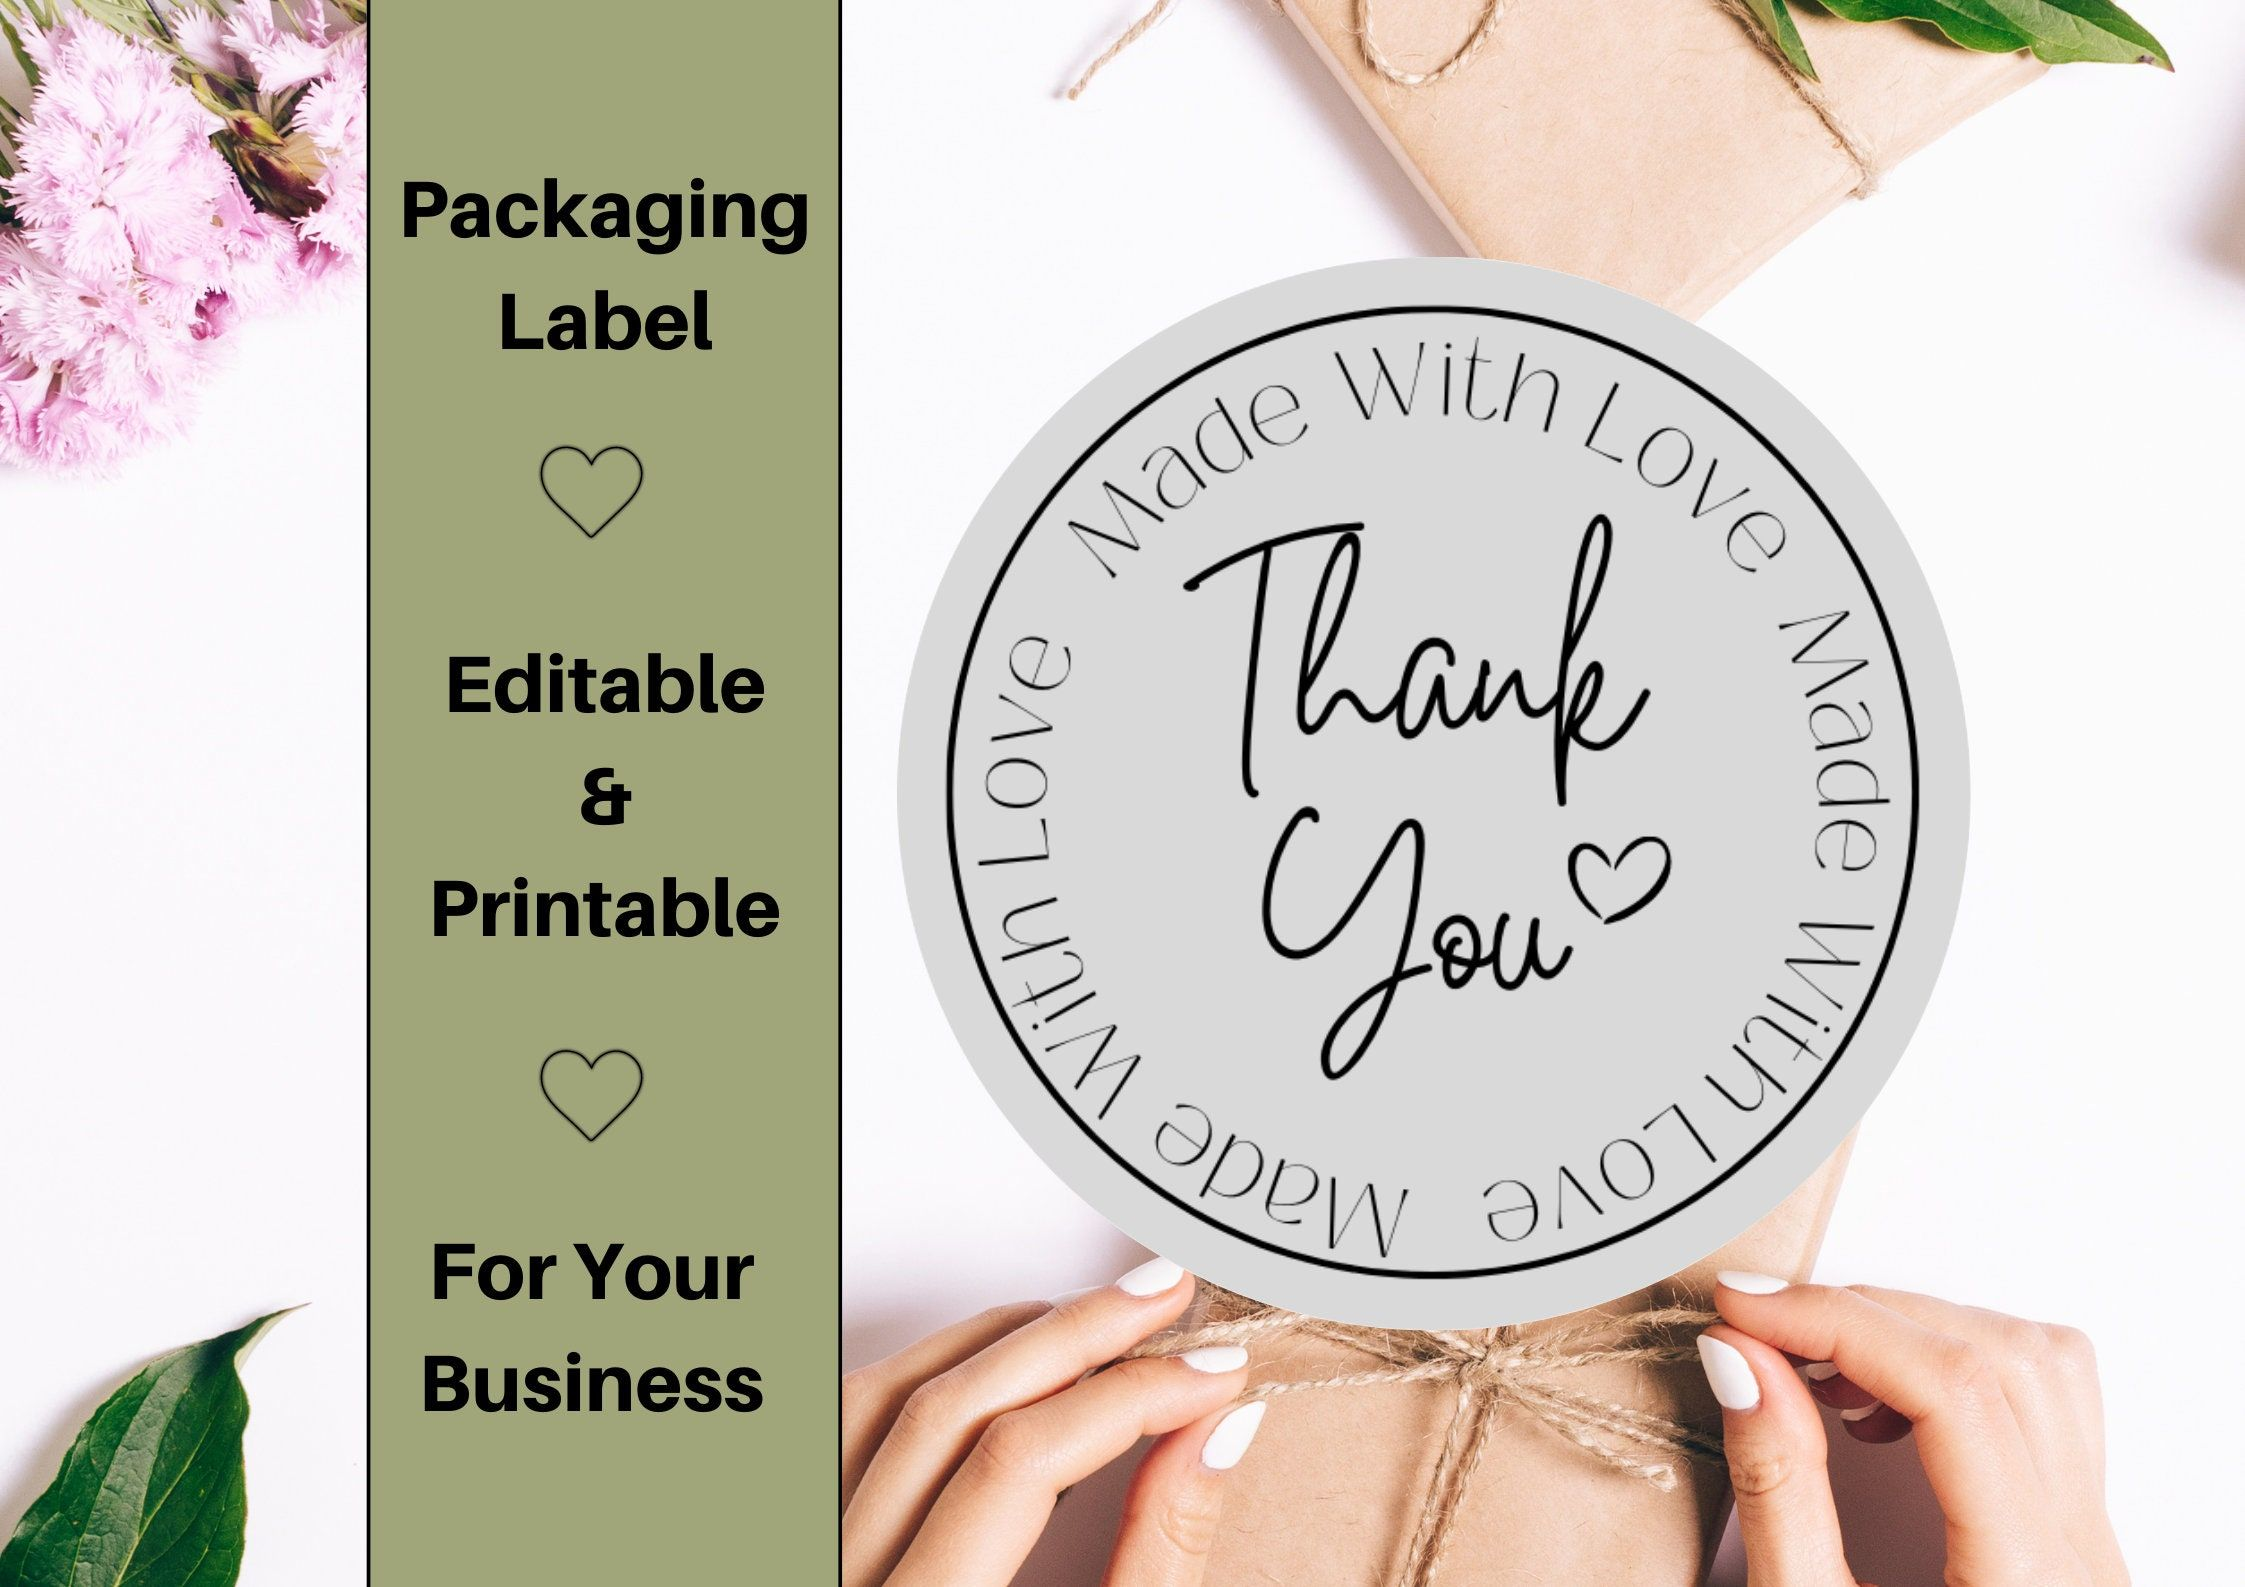
5. Seasonal and Decorative Stickers
Labels can also be fun and decorative. Adding seasonal stickers brings personality to your pantry and makes it a place you enjoy opening every day. During the holidays, try themed labels such as Christmas cookies or Halloween treats for a festive touch.
You can also use small icons, playful illustrations, or motivational quotes to brighten the shelves. Decorative labels are especially effective for families with children, since they make organizing feel less like a chore and more like a creative activity. When labels look good and serve a purpose, it is easier for everyone to stick with the system.
6. Size and Quantity Labels
Bulk items often need extra attention, and size or quantity labels can make them much easier to manage. Adding portion sizes or weight equivalents directly on containers helps you measure ingredients quickly and consistently.
For example:
• Flour jar: ½ cup equals 80 grams
• Rice container: refill when half empty
These simple notes are especially useful for households that prepare meals in advance. They save time in the kitchen, prevent running out of essentials, and keep cooking results consistent week after week.
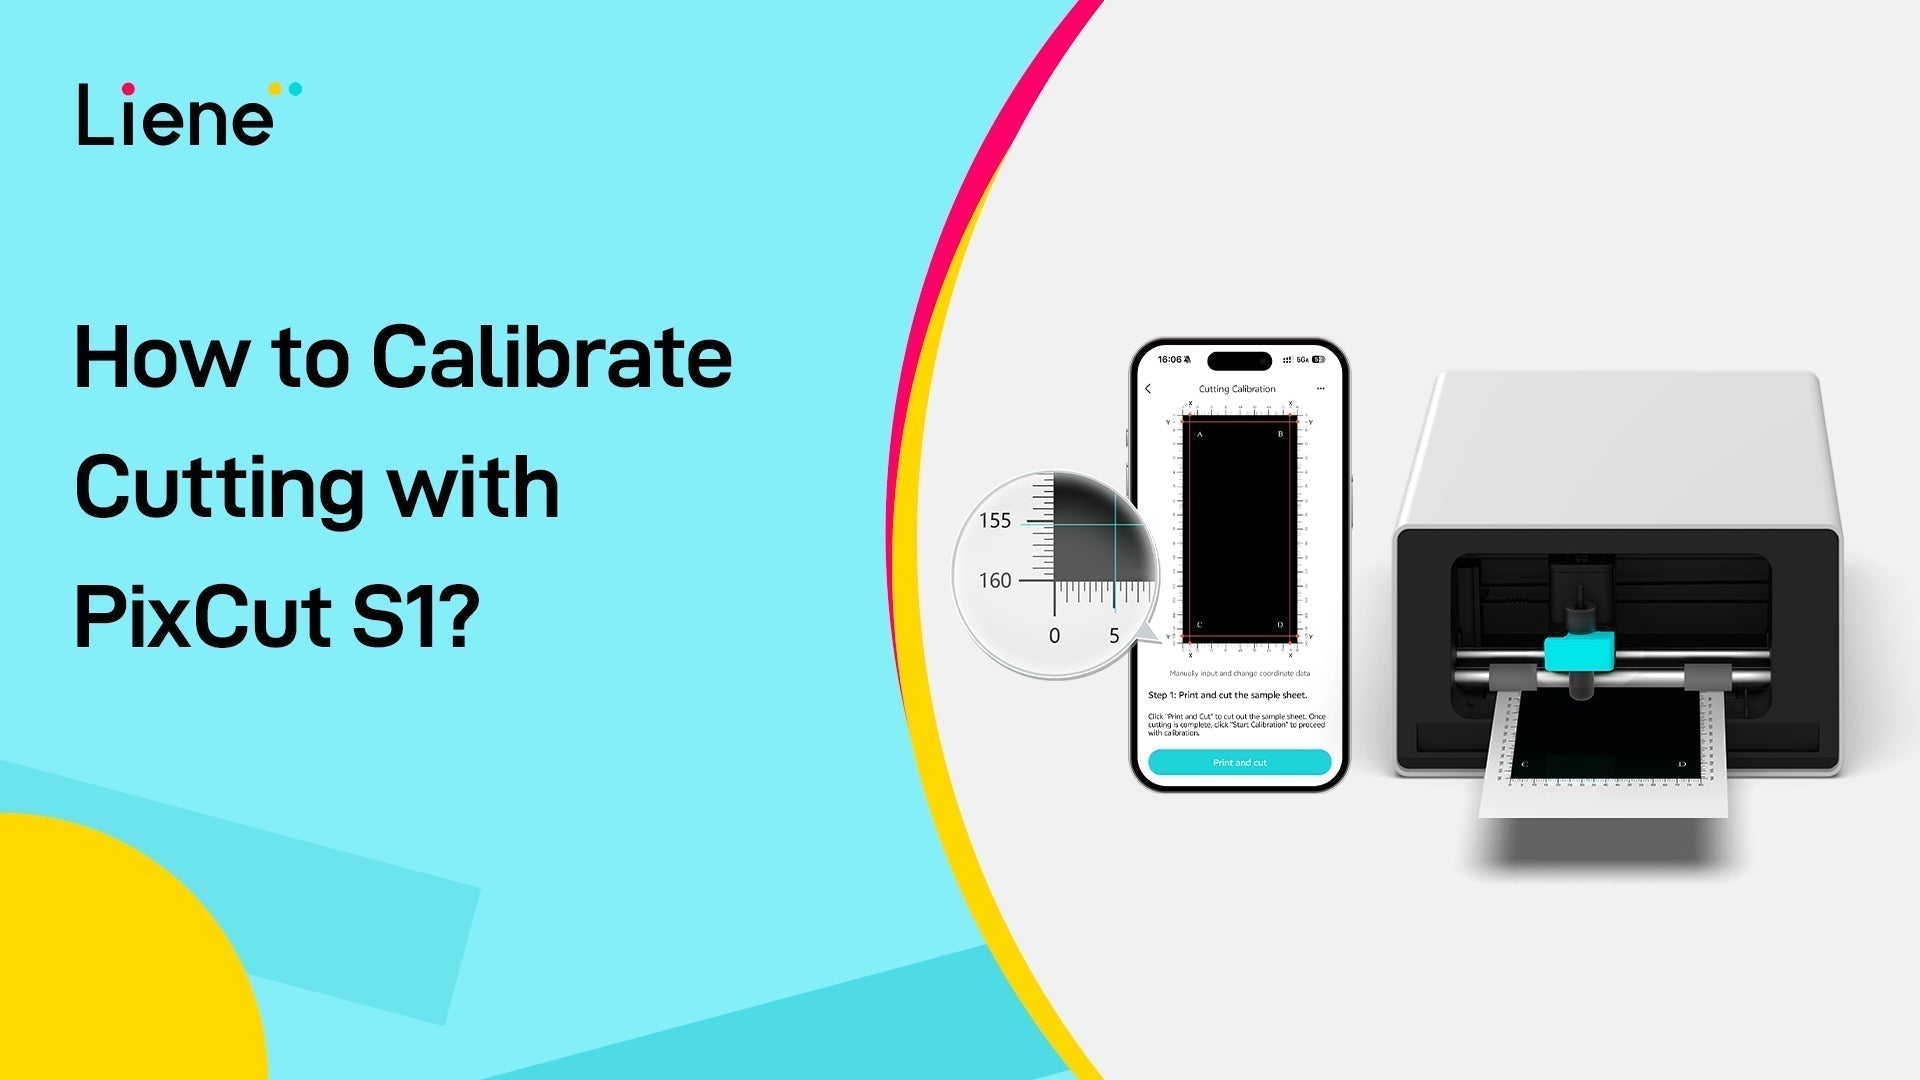
How to Make Custom Stickers and Labels with PixCut S1
All of the pantry labeling ideas above can be brought to life quickly with the Liene PixCut S1 Sticker Maker. Unlike traditional cutters that require a separate printer, the PixCut S1 is an all-in-one machine that prints, laminates, and cuts in just minutes. It’s easy to use, produces waterproof and scratch-resistant stickers, and is perfect for small business owners or home organizers.

Here’s how to create your own pantry labels in four simple steps:
Step 1: Prepare the Machine
Install the ink ribbon cartridge and load the official Liene PET sticker paper. The PixCut S1 automatically feeds and aligns the paper, so you can start right away without manual adjustments.
Step 2: Design Your Stickers
Open the Liene Photo App on your phone or tablet and upload your designs in PNG or JPG format. From clear pantry labels to seasonal themes, the app’s background removal and auto cut-line tools make setup quick and accurate.
Step 3: Select Kiss-Cut Mode
Preview your layout in the app and choose the Kiss-Cut mode. This setting cuts through only the sticker layer while leaving the backing sheet intact, so labels peel cleanly and are easy to apply.
Step 4: Print, Laminate and Cut
Send your design to the PixCut S1. The machine prints in high resolution using thermal dye-sublimation, automatically laminates the surface for durability, and precisely cuts each label. In just minutes, your custom pantry stickers are ready to use.
Conclusion
Organizing a pantry may feel like a big task, but with the right labeling system it quickly becomes manageable and even enjoyable. Labels make it easier to see what you have, reduce food waste, and bring a sense of order to your shelves. Think of your pantry as a space that can reflect both function and personality. Start with one shelf or one category, add clear and simple labels, and notice how much smoother cooking becomes. Small steps can make a big difference, so why not give your pantry a refresh today?
FAQs
What types of containers work best with custom pantry labels?
Smooth, flat surfaces such as glass jars, plastic bins, and metal canisters work best. Labels stick firmly to these materials and remain easy to read. Clear containers are especially helpful since they let you see both the contents and the label at the same time.
How can I make pantry labels that are waterproof and long-lasting?
For durability, use the PixCut S1 Sticker Maker together with official Liene PET sticker paper. These stickers are waterproof, fade-resistant, and scratch-resistant thanks to a built-in protective layer applied during printing. They can handle daily use in a kitchen environment without peeling or smudging.
Can I create removable stickers for jars that change contents frequently?
Yes. The Liene sticker paper designed for PixCut S1 is removable, which means you can peel off the label and reapply it to another surface without leaving sticky residue. This makes it ideal for jars or containers that are refilled with different items over time.
Leave a comment
This site is protected by hCaptcha and the hCaptcha Privacy Policy and Terms of Service apply.