


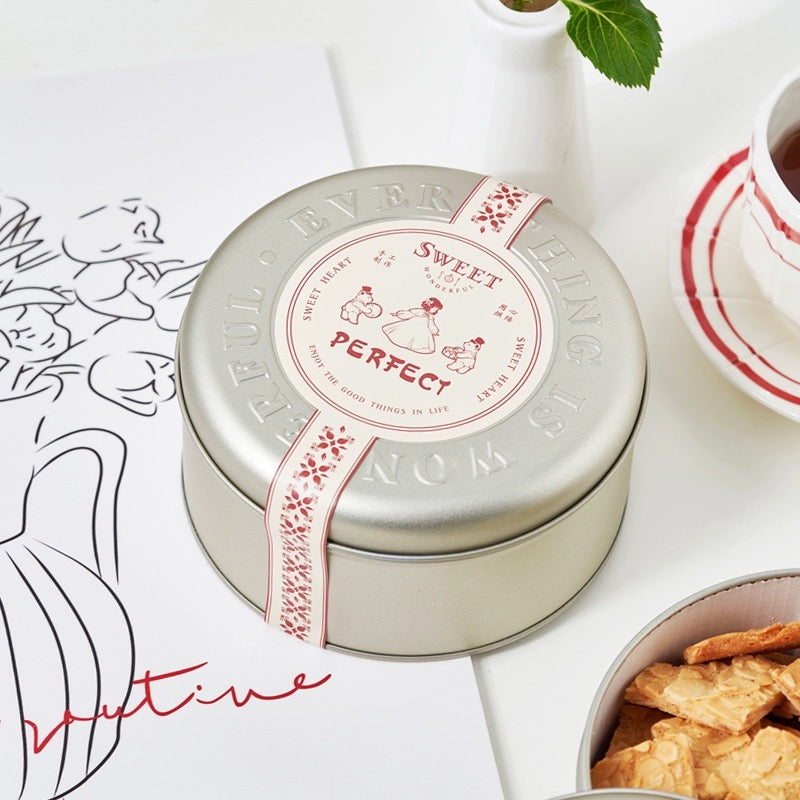
Handmade candles make beautiful gifts—but let's be honest, without a label, even the most fragrant blend can feel unfinished. A custom label tells your story, adds charm, and transforms a simple jar into something truly memorable. Labels do way more than just look pretty; they give homemade candles their personality, help people know what they're burning, and make everything look like it came from a fancy boutique. So, whether you're making special gifts for loved ones or trying to get your own candle business off the ground, thoughtful labels really make your creations shine.
In this guide, we'll walk you through labeling your homemade candles from start to finish and share some fun design ideas that might just spark something. The cherry on top? You can print and cut every label right at home using the Liene PixCut S1—a neat little device that gives your DIY projects that store-bought look without leaving the house.
Why Candle Labels Matter (Even for Small Batches)
Even a single handmade candle deserves a great label. Beyond style, labels serve multiple functions: they help customers identify the scent, outline safety instructions, and give the product a cohesive, professional feel.
For hobbyists, a label adds a thoughtful touch that makes gifts more personal and meaningful. For sellers, they’re a branding tool—conveying your style, values, and product information all in one small space. In fact, many countries and marketplaces (like Etsy or Shopify) expect specific details on candle labels, including:
- Scent or fragrance name
- Burn time or weight
- Warning symbols or instructions
- Brand name or logo
Even if you’re selling in small batches or just starting out, a well-designed label can help increase trust and drive repeat sales. Imagine receiving two similar candles, one with a clear label and scent story, and another left blank. The labeled one feels more thoughtful and trustworthy.
The good news? You don’t need to outsource label printing or buy bulk supplies. With tools like the PixCut S1, you can create polished, personalized labels that adhere cleanly to glass, metal, or tin containers, all from your workspace, at your own pace.
Creative Candle Label Ideas to Inspire Your Design
Okay, so you're thinking about candle labels, right? The style you pick says so much about your brand, whether you're going for sleek and modern or cozy and rustic. Here are some ideas I've been loving lately:
- Minimalist Monochrome Text: Just clean, black text on white or clear backgrounds. Perfect for luxury, spa, or organic brands that want that effortless, classy look.
- Seasonal Themes: Go with what feels right for the season. Autumn leaves for cozy fall scents, snowflakes for winter vibes, pretty florals for spring and summer blends.
- Handwritten or Script Fonts: Hand-drawn or flowing script fonts just scream "crafted with love." Great for gifts or that homey, rustic feeling.
- Geometric Patterns: Simple lines and shapes make your candles look current and put-together without being too busy.
The Liene PixCut S1 handles all these ideas really well. The smart cutting gives you clean, custom shapes, and you can either mess around in the Liene App or upload whatever you've already made. You're in control of how everything turns out.
Beyond candles, these same techniques can be applied to other projects—using labels to maximize home organization, decorate gift packaging, or add branding to jars and containers around the house.
What You’ll Need to Get Started

Making nice-looking candle labels at home isn't complicated. You just need to grab a few things:
Essentials:
- Liene PixCut S1: This little machine handles both printing and cutting your labels.
- Candle-safe containers: Good old glass jars, metal tins, or whatever unique containers you can find.
- Label artwork or a template: Make something in the Liene App or use whatever design program you already know.
- The Liene App: Download it on your phone to control everything from printing to cutting.
Optional Extras:
- Heat-resistant label material: Consider this option if your candles tend to get quite warm.
- Twine, ribbon, or belly bands: Fun little touches that make everything feel more handmade.
- Kraft paper wraps or gift boxes: Great for when you want the whole package to look cohesive.
How to Label Your Candles Using Liene PixCut S1: Step-by-Step
Whether it's your very first label or you've done this a bunch of times, here's how to get your candles looking really good.
Step 1: Pick Your Container & Give it a Quick Clean
Grab the jar or tin you're using for your candle. Just wipe it down with a dry cloth or an alcohol wipe to get rid of any dust or fingerprints. A clean surface means labels that actually stay put.
Step 2: Design Your Label in the Liene App
Jump into the Liene App to make your label. You can:
- Upload your own artwork
- Add text like the scent name, your logo, or those safety warnings
- Pick exactly what shape and size you want. Already made something in Canva or Illustrator? No worries—just save your file and bring it into the Liene App.
Step 3: Print at 300dpi Using PixCut S1
Load the official Liene 4x7'' PET sticker paper into the PixCut S1. In the app, make sure you select 300dpi so everything looks sharp. Quick check that your design fits your container before you print.
Step 4: Let the AI-Guided Tool Cut Your Label
After it prints, just turn on the PixCut S1's cutting mode. The smart cutting system performs precise kiss-cutting, leaving the backing sheet intact while shaping your labels accurately—even with custom curved designs.
Step 5: Apply Your Label Carefully & Evenly
Peel the label off its backing and press it onto the container, starting from the middle and working outward. Use a clean cloth to smooth out any air bubbles that pop up.
- pro Tip: For curved jars, smaller labels or ones with rounded edges usually work way better.
Step 6: Add Those Final Decorative Touches!
Want to make it even nicer? Tie some twine or ribbon around the lid. Throw on a little hang tag or write a quick thank-you note if you're giving it as a gift or selling it. Belly bands or small stickers can make everything look more put-together too.
And there you have it! A candle that looks like it came from a fancy shop, all made right from your own space.
Top Reasons to Use PixCut S1 for Homemade Candle Labels
Why choose the Liene PixCut S1 over any other label maker for candle jars? Here’s what makes it a standout tool for candle crafters:
-
300dpi Printing Resolution
Delivers clean, high-resolution results ideal for intricate designs and tiny text. -
AI-Powered Cutting
Forget scissors or die cuts. The PixCut S1 cuts any shape with precision, whether it's a square, a circle, or a custom design. -
Wireless Control with the Liene App
Use your phone or tablet to handle everything—no need for separate software. -
Material Compatibility
Supports Liene’s official 4x7'' PET sticker paper, which is optimized for high-quality printing and precise kiss-cutting.
-
Compact & Beginner-Friendly
No steep learning curve. Setup is fast, and results are reliable, even for first-time users.
For small-batch sellers or gifting enthusiasts, this tool streamlines the process while letting your creativity shine. It’s like having a mini print shop at home.
Conclusion

You don’t need industrial printers or expensive design services to make candles that look store-ready. With just a bit of creativity and the PixCut S1, even small batches can achieve a high-end feel. This compact machine brings pro-level precision into your home studio, making label design fast, fun, and customizable.
Whether you're crafting gifts for loved ones or launching your candle line, the right label sets the tone for your brand. And since PixCut S1 also lets you print photos at home, it’s a versatile tool for both crafting and memory-making. Start simple or explore bold designs—with PixCut S1, the possibilities are endless.
Start crafting your own candle labels today—explore the Liene PixCut S1 now.
FAQs
1.Do I need special paper for candle labels?
The PixCut S1 is designed to work exclusively with Liene’s official 4x6-inch photo paper and 4x7-inch PET sticker paper, which are specifically optimized for high-quality thermal dye-sublimation printing and precise kiss-cutting. Currently, only the white glossy PET sticker paper is available, while transparent and metallic finishes are expected to launch in about 6 months.
2.Can I make cool shapes like circles or fancy curves?
Totally! The PixCut S1's smart cutting lets you do circles, arches, or whatever weird shape you dream up. Way more fun than boring rectangles, and it makes your candles look way more custom.
3.Why do my labels keep peeling off my round jars?
Make sure your jar is actually clean first – no dust, no fingerprints. Then use labels that bend well, and go smaller or pick designs with rounded edges. They just stick better to curvy surfaces.
4.What should I actually put on my labels?
The scent name for sure, your name or brand, how long it burns for, or how much it weighs, and those safety warning things. You could also throw in a QR code if you want to link to care tips or your website.
5.Is this thing hard to figure out if I've never done this before?
No, it's pretty straightforward. You just download the app, connect it wirelessly, and you're good to go. Even if you've never made labels before, you can get professional-looking results in like 2 minutes.

Hinterlasse einen Kommentar
Alle Kommentare werden vor der Veröffentlichung geprüft.
Diese Website ist durch hCaptcha geschützt und es gelten die allgemeinen Geschäftsbedingungen und Datenschutzbestimmungen von hCaptcha.