


1. Creating a New Canvas:
After clicking the ""+Canvas"" button, you will have six different modes to choose from. Each mode offers different design capabilities to suit your needs.
2. Templates Feature:
The Templates feature offers four main categories, each with subcategories. These are:
Customizable Labels
Holidays & Occasions
Education Boosters
Decorative Stickers
To demonstrate, let's focus on the ""Customizable Labels"" category:
Click on ""Templates"".
Select ""Customizable Labels"".
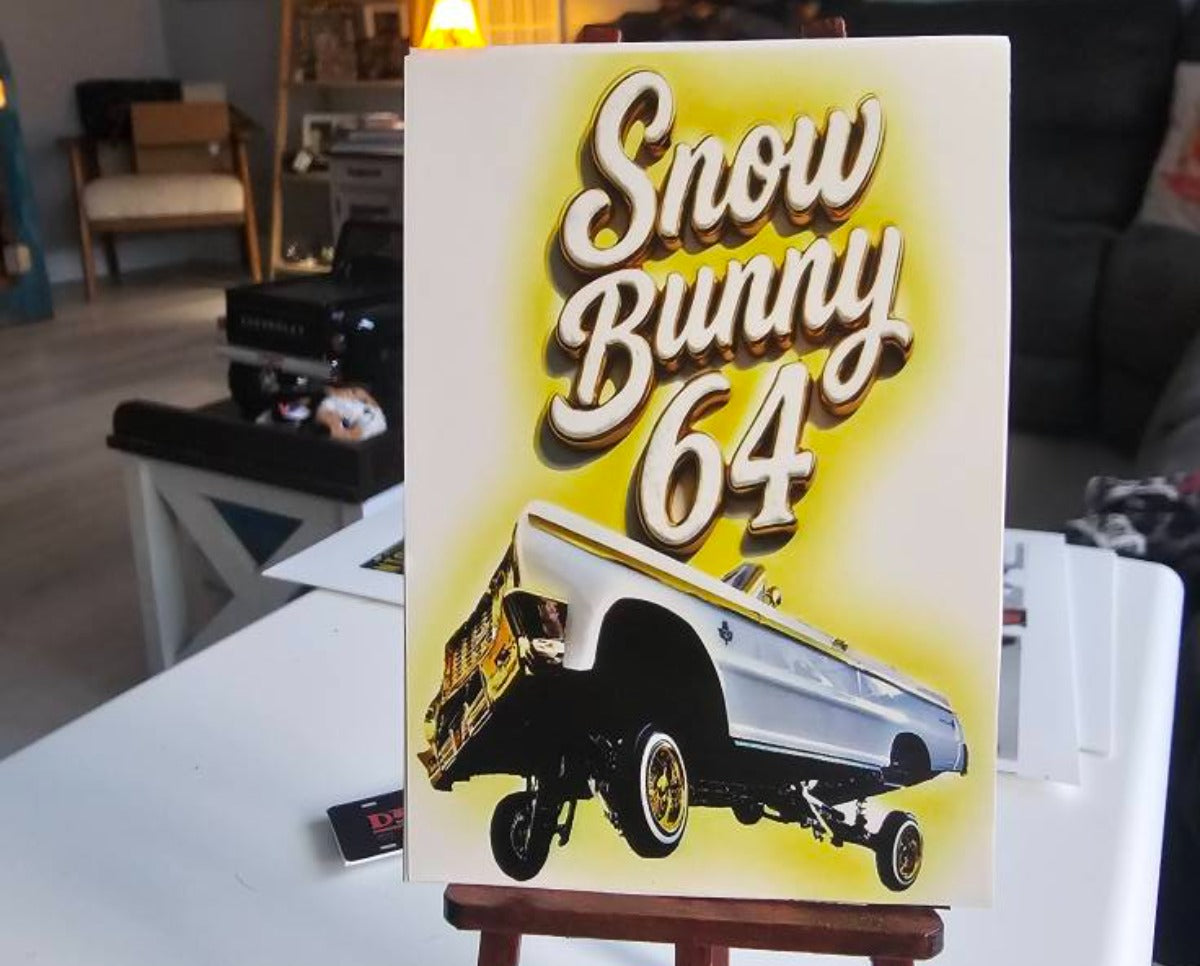
If you want to label kitchen spice jars, choose a design you like (as shown in Figure 1).
Click on the design and double-click the text sections (as shown in Figure 2) to edit the text.
Once you're satisfied with the changes, click ""Make-it"" to print the label, which you can then stick onto the spice jars.
3. Exploring the Elements Feature:
The Elements section offers 21 categories, each with subcategories. Here’s how you can use them:
Add Elements to Canvas:
Click the design and hit the ""+"" button to add it to your Canvas.
Save to Favorites:
If you click on the star icon on the left, it will save the design to the ""MY"" section for easier access later on.
This allows you to reuse your favorite designs quickly for future projects.
4. How to Use Upload:
Click on ""Upload"" (as shown in Figure 1) to open your photo gallery.
Choose an image from your gallery that you want to add to the Canvas.
You have two options for editing:
AI Remove BG: Click ""AI remove bg"" (as shown in Figure 3) to automatically remove the background.
Manual Matting: If the AI removal isn't perfect, click ""Manual matting"" (as shown in Figure 4) to manually adjust the image.
Once satisfied, click ""Next"" (as shown in Figure 5) to add it to the Canvas.
Alternatively, you can use ""Use it"" (as shown in Figure 6) to directly use the image without background removal.
5. Text Editing Feature:
To add and customize text on your designs:
Click ""Text"" to add a text box to the Canvas.
Double-click or select ""Input"" to edit the text.
Use the following options:
Font: Change the font style.
Font Size: Adjust the font size either by clicking or dragging the text box.
Color: Choose the font color.
Format: Change the text alignment or structure.
Effect: Modify the text's appearance with Stroke or Curve.
Position: Move the text box (you need to long-press to move it up, down, left, or right).
Use the curved arrow to rotate the text 90° clockwise, or long-press to rotate it at any angle.
6. Using Shapes:
Select a shape you like.
Use the following options to customize it:
Color: Fill the shape with your preferred color.
Border: Set the style of the shape's border.
Image Fill: Upload a photo to fill the shape.
Position: Adjust the shape's position on the Canvas or manually fine-tune the size and rotation under ""Advanced"".
7. Background Customization:
To add a background to your design, click ""Upload"" to upload a photo from your gallery or select a solid color from the system options.
8. Combining All Features for a Birthday Card:
Here’s how to create a personalized birthday card:
Click on ""Templates"" and select a birthday card template.
Adjust the size of the card template.
Double-click the text box and type ""Happy Birthday.""
Modify the font size, style, and apply the ""Curve"" effect.
Click ""Upload"" to add an image.
Use ""AI Remove BG"" to remove the background of the image (as shown in Figure 3).
Once satisfied, click ""Next"" to adjust the image size and place it on the card.
Your customized birthday card is now ready for printing!
Conclusion:
By following these steps, you can create a wide range of custom designs, from labels to greeting cards, using the Canvas, Templates, Elements, Upload, and Text features. The interface is user-friendly, allowing for a highly customizable design experience tailored to your needs. Enjoy creating personalized stickers, labels, and more!
Hinterlasse einen Kommentar
Diese Website ist durch hCaptcha geschützt und es gelten die allgemeinen Geschäftsbedingungen und Datenschutzbestimmungen von hCaptcha.